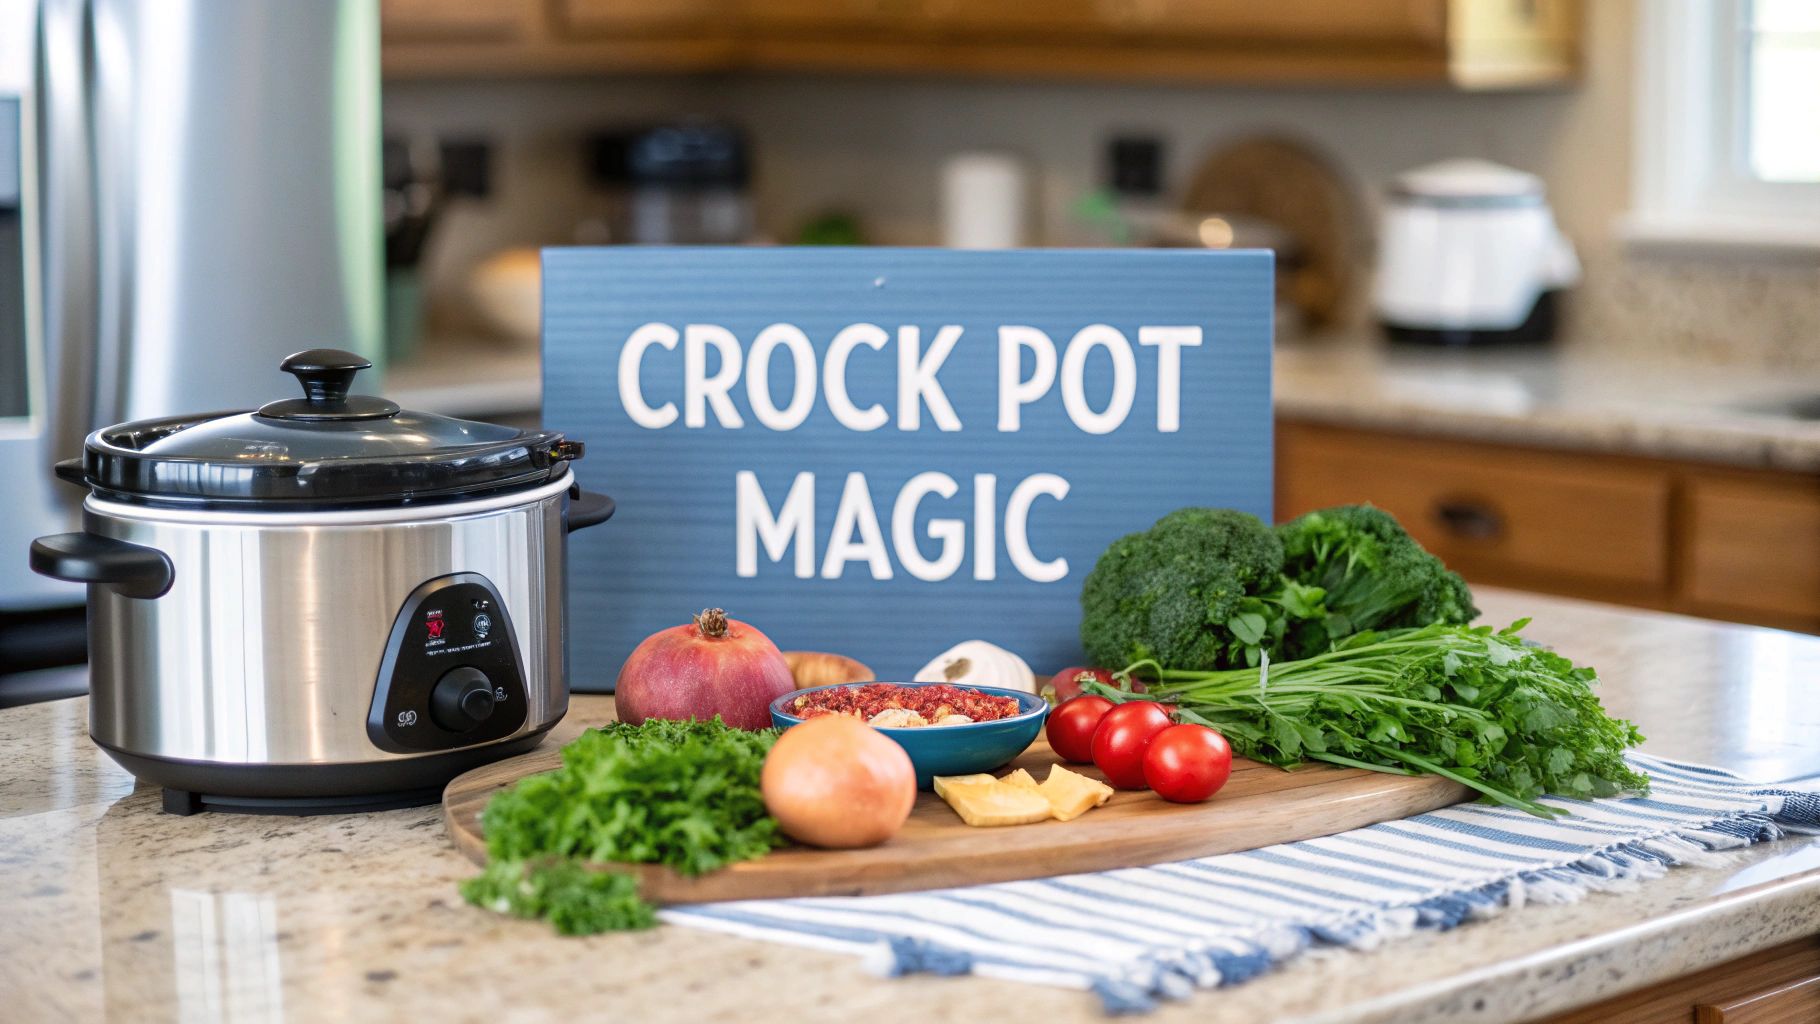
How to Cook with a Crock Pot and Master Easy Meals
Learn how to cook with a crock pot like a pro. Get simple tips for layering, timing, and creating set-it-and-forget-it meals that taste amazing.
Love This Article?
Get personalized meal plans with recipes like this, automatically matched to your nutrition targets.
Cooking with a crock pot is pretty straightforward: toss in your ingredients, pick LOW or HIGH, and let the machine do the heavy lifting for a few hours. This whole "set it and forget it" approach is a game-changer, turning tough cuts of meat and everyday veggies into something truly special with almost zero effort.
Your Crock Pot Is Your New Kitchen Superpower
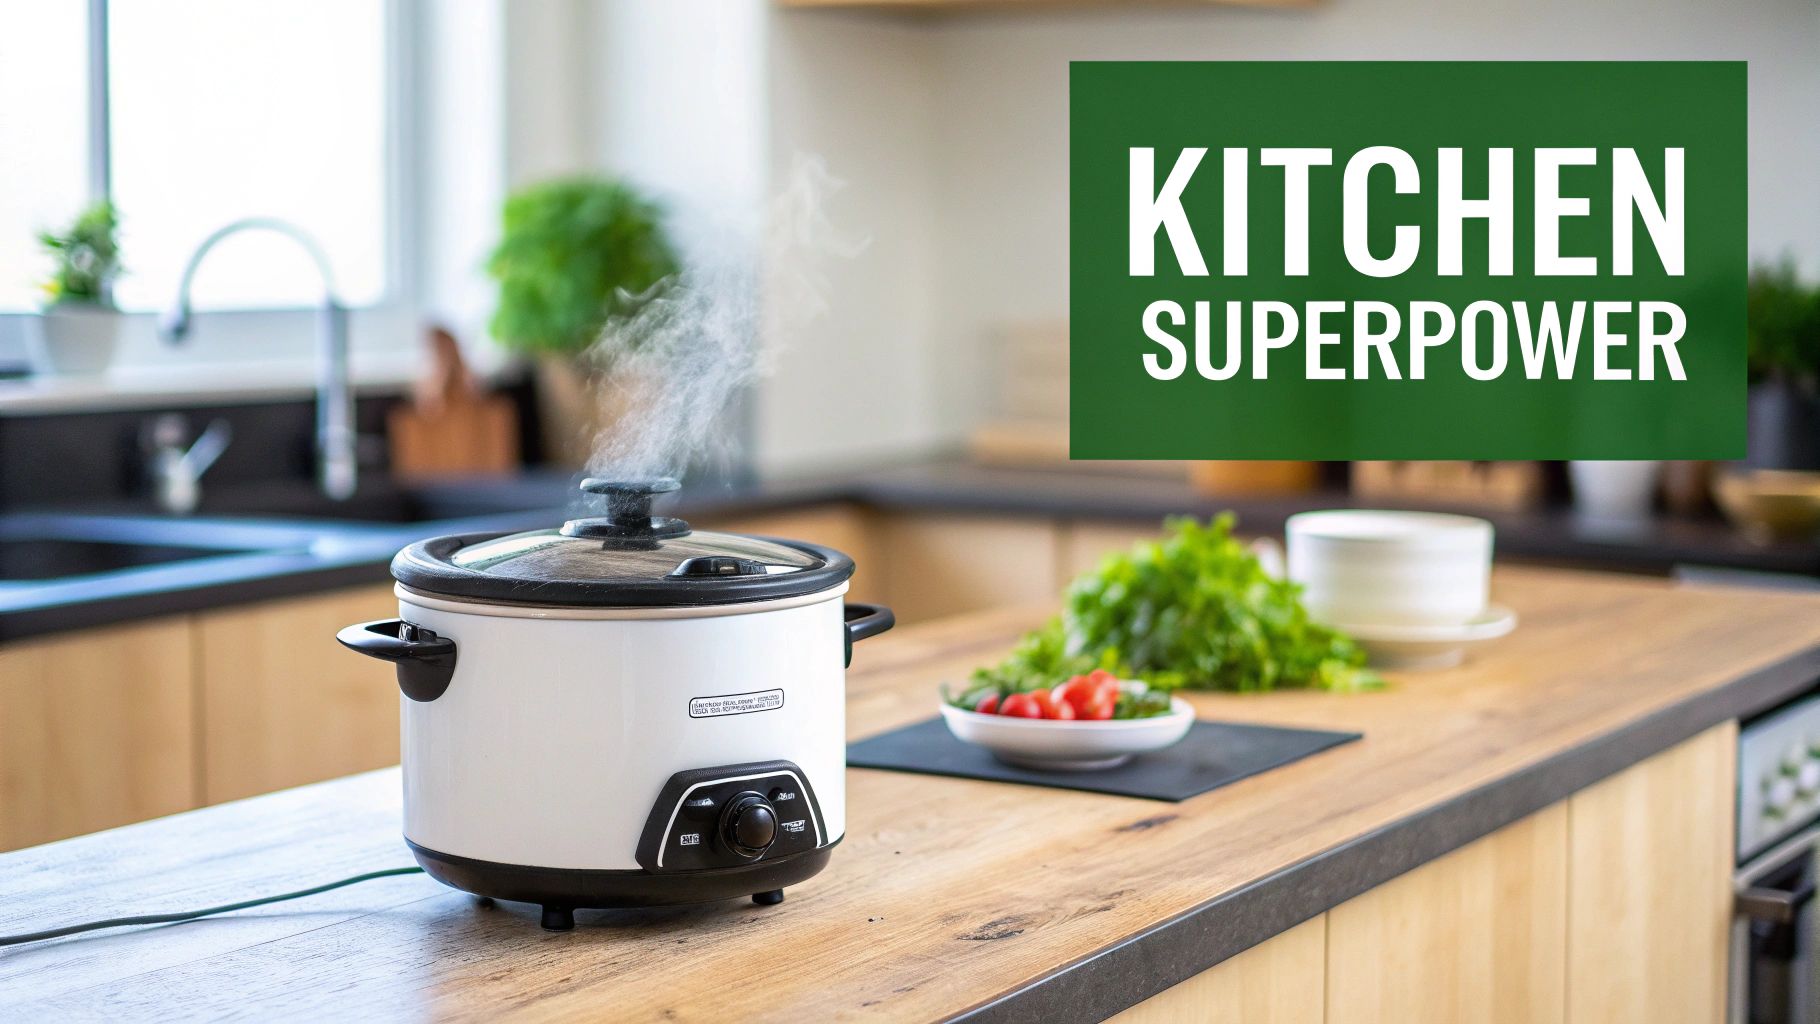
Welcome to the land of stress-free dinners. I'm not kidding—your Crock Pot is way more than just another appliance collecting dust. Think of it as your secret weapon for taking back your evenings. Seriously, imagine walking in the door after a crazy day to the smell of a perfectly cooked meal that’s ready to go. That’s the magic that busy families have been leaning on since this thing was invented back in the 1940s.
There's a good reason this humble gadget is a staple in millions of kitchens. Its steady, low-and-slow heat is brilliant at breaking down tough tissues in meat, making even the most budget-friendly cuts fall-apart tender. It also has a unique way of coaxing deep, rich flavors out of every single ingredient. You get stews, roasts, and soups that taste like they've been simmering on the stove all day... because they have, just without you needing to watch over them.
Understanding Your Crock Pot Settings
Most slow cookers keep it simple with two main settings: LOW and HIGH. It helps to think of them less as different temperatures and more as different timelines for dinner.
- LOW Setting: This is your classic, all-day setting. It's perfect for when you're at work or out running errands. The food is brought to a gentle simmer over a much longer period, which is fantastic for tenderizing big roasts or letting the flavors in a chili really meld together.
- HIGH Setting: This setting gets to the same final temperature as LOW, just a lot faster. Use this when you're short on time. It basically cuts the cooking time in half and works great for dishes with smaller pieces of meat, like chicken breasts or diced beef.
The love for slow cooking isn't just anecdotal. The global market for these cookers was valued at a massive US$2,056 million in 2024, and it's still growing. It makes sense when you hear that 72% of American households own one. This isn't just a fleeting trend; it's solid proof that this cooking method consistently delivers delicious results.
The real beauty of the Crock Pot is its simplicity. It’s a tool that gives you back precious time without you ever having to sacrifice the quality of your family's meals. It makes batch cooking and meal prep feel almost effortless.
A Modern Approach to Slow Cooking
While the appliance is a breeze to use, figuring out what to make can still be a headache. This is where a little modern tech can help. For instance, platforms like Meal Flow AI can turn your random recipe ideas into an organized shopping list automatically, making the whole process even smoother. For busy moms, combining the convenience of a Crock Pot with smart meal planning creates an unstoppable kitchen workflow.
If you're looking for some inspiration, you might love our guide on 10 Crock Pot meal prep recipes for the family. And for those who want to build up their confidence across the board, looking into general cookery lessons can be a great way to round out your skills beyond the slow cooker.
Getting Your Ingredients Ready for Their Slow-Cook Sesh
The real magic of a mind-blowing Crock Pot meal happens way before you even think about plugging it in. Honestly, your ingredient choice and prep work is your secret weapon. Get this part right, and you've basically guaranteed yourself a spectacular, no-stress dinner.
It all boils down to picking the right team for the job. Your slow cooker is a genius at taking tougher, more budget-friendly cuts of meat and turning them into fall-apart-tender masterpieces. I'm talking about cuts with great marbling and connective tissue, like a beef chuck roast, pork shoulder (sometimes called a Boston butt), or bone-in chicken thighs. These guys absolutely shine after a few hours on low, becoming ridiculously juicy and flavorful. On the flip side, leaner cuts like chicken breasts can get a little dry and sad, so save those for quicker recipes.
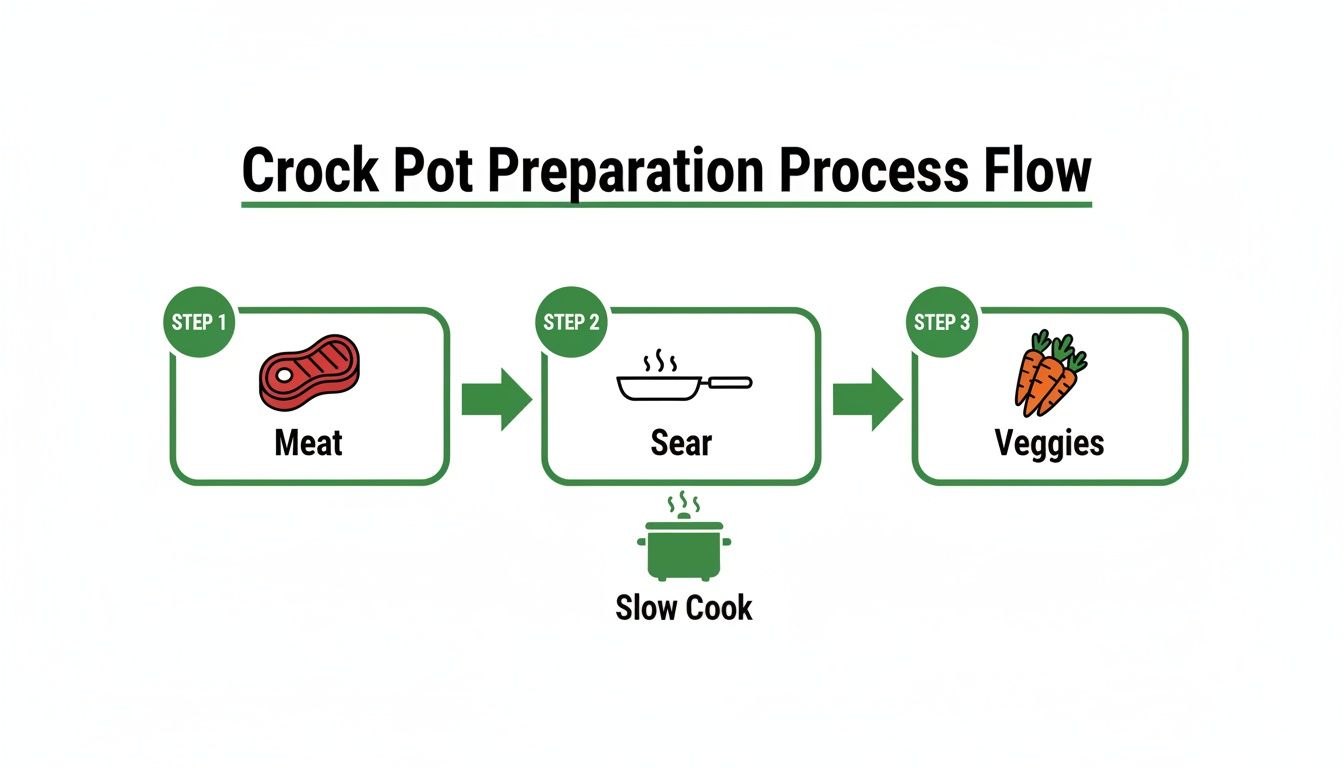
The Secret Sear for Next-Level Flavor
Want a pro tip that’ll change your slow cooker game forever? Sear your meat before it goes in. I know, I know, it's an extra step, but trust me on this. Spending just five minutes browning all sides of that roast or those chicken thighs in a hot skillet creates an incredible crust. This is thanks to something called the Maillard reaction, a fancy term for the chemical process that creates those deep, savory flavors you can't get any other way. It's a tiny bit of effort for a massive flavor upgrade.
The secret isn't just what you cook, but how you get it ready. A few minutes of prep in the morning can completely transform the texture and taste of your meal, taking it from "good" to "unforgettable."
A Smart Veggie Strategy for Perfect Texture
Vegetables need their own game plan, too. The heartier root veggies are your slow cooker's absolute best friends.
- Hard Veggies Go First: Things like potatoes, carrots, and onions are tough enough to handle a long cook time. I always toss them in the bottom of the crock first, creating a nice little bed for the meat to sit on.
- Delicate Veggies Go Last: Softer stuff—think spinach, peas, zucchini, or bell peppers—will turn into a depressing mush if they're in there for hours. Just toss them in during the last 30-45 minutes of cooking to keep them bright and perfectly tender-crisp.
Prepping your veggies ahead of time is a lifesaver. You can chop up a big batch of your mirepoix (onions, carrots, and celery) on a Sunday and have it ready to go for multiple meals all week. If that sounds like a good idea, you should check out our simple guide on how to meal prep vegetables for more easy tricks.
This prep-ahead mentality pays off in more ways than one. Think about it: layering ingredients like 2 cups of carrots, 1.5 lbs of potatoes, and a roast in the morning and letting it cook on low for 8 hours results in meat that is 30% more tender. That little bit of planning has been shown to boost family meal satisfaction scores by 22%! Plus, modern eco-friendly Crock-Pots use about 75% less energy than firing up your conventional oven, which is a huge win for your utility bill. You can find more fascinating tidbits about these consumer trends and Crock Pot efficiency if you're curious.
Mastering the Art of Layering and Liquid Levels
Believe it or not, there’s a real strategy to loading your slow cooker. Just dumping everything in randomly is a fast track to unevenly cooked food and some seriously bland results. Getting the layering right is your first real step toward creating those deep, complex flavors and perfect textures every single time.
Think of it like building a little flavor foundation right in the pot. The heaviest, heartiest ingredients always go on the bottom, closest to the heating element. It's a simple move, but it's the secret to a perfectly cooked meal.
Build from the Bottom Up
Your toughest vegetables are the first ones in. I'm talking about things like potatoes, carrots, onions, and turnips. By putting them on the bottom, you’re creating a natural rack for everything else.
This clever little platform does two amazing things:
- It lifts your meat up, keeping it from getting soggy or just boiling in the liquid.
- It lets the vegetables soak up all those incredible meat drippings as they cook, making them unbelievably flavorful.
The meat, especially a big cut like a roast or a pork shoulder, goes right on top of that veggie bed. This position lets it braise slowly in all the flavorful steam and juices, becoming fall-apart tender without turning into a watery mess.
This simple workflow is the ideal way to prep your main components for maximum flavor.
The key takeaway? A few minutes of smart prep—searing the meat and layering the veggies first—sets the stage for a much, much better final dish.
The Great Liquid Debate
One of the biggest mistakes I see people make when they're learning how to cook with a crock pot is adding way too much liquid. Unlike cooking on the stove, a slow cooker’s lid traps nearly all the moisture. You’d be shocked at how much water ingredients like chicken, onions, and mushrooms release on their own.
A good rule of thumb is that your liquid should only come about halfway up the ingredients. For soups and chilis, you can go higher, of course, but for roasts and stews, less is definitely more.
Too much liquid will just dilute your flavors, leaving you with a watery, sad sauce. Too little, and you risk scorching the bottom. For a typical 3-pound roast sitting on a bed of vegetables, about one cup of broth is often all you need to get things going. Trust the process—your ingredients will create the rest of the delicious juice for you.
Nailing Your Cook Times and Temperatures
Let's bust a huge myth right now: setting your Crock Pot to HIGH for four hours is not the same as setting it to LOW for eight. It's a common rookie mistake, but understanding the difference is a total game-changer.
Both settings will eventually get your food to the same simmering point (usually around 209°F), but the real difference is the journey, not the destination. HIGH is the freeway; it gets you to that peak temperature fast. LOW is the scenic route, taking its sweet time to gently bring everything up to temp. That slow climb is what turns tough, cheap cuts of meat into fall-apart-tender magic.
When to Go Low and When to Go High
So, which path do you take? It really just depends on what you're cooking and how much time you have. Each setting has its own superpower.
Choose LOW for:
- Tougher Meat Cuts: We're talking beef chuck roast, pork shoulder, brisket... you get the idea. The long, slow heat is what breaks down all that collagen and connective tissue, giving you that incredible melt-in-your-mouth texture.
- Deep Flavor Development: For things like chili, rich stews, or a killer bolognese, you want those flavors to hang out and get to know each other. Hours of gentle simmering is how you get that "cooked all day" taste.
Choose HIGH for:
- Leaner Proteins: Chicken breasts, fish, or pork tenderloin don't need a marathon cooking session. In fact, they can dry out. A shorter time on HIGH is perfect for keeping them juicy.
- Soups and Dips: If your recipe doesn't need to tenderize meat—like a hearty vegetable soup or a creamy spinach dip—HIGH is your best friend.
The results really speak for themselves. Cooking low and slow at 190-200°F for 6-8 hours can infuse flavors 50% deeper than faster methods. It also boasts an impressive 92% moisture retention, which is the secret to unbelievably juicy meat. And let's not forget the energy savings—a Crock-Pot uses about 70% less power than your oven for the same meal. It’s a win-win. You can dig into more of these energy-efficient cooking trends if you're curious.
Converting Recipes for Your Slow Cooker
Have a favorite oven recipe you want to try in the slow cooker? You absolutely can. You just need to tweak the liquid and the time. Slow cookers are fantastic at trapping moisture, so you’ll want to cut the liquid in the original recipe by about half.
Here's a handy little cheat sheet to get you started.
Oven to Crock Pot Conversion Guide
| Oven Cook Time (at 350°F) | Crock Pot Time on LOW | Crock Pot Time on HIGH | Liquid Adjustment Tip |
| 15-30 minutes | 1.5 - 2.5 hours | 1 - 1.5 hours | Reduce liquid by 50% |
| 30-45 minutes | 3 - 4 hours | 1.5 - 2 hours | Reduce liquid by 30-50% |
| 1-2 hours | 4 - 6 hours | 2 - 3 hours | Reduce liquid by 25-30% |
| 2-4 hours | 8 - 10 hours | 4 - 6 hours | Use about 1 cup of liquid |
This table makes it easy to see how a little adjustment can turn almost any family favorite into a set-it-and-forget-it meal.
The golden rule for converting cook times is simple: 1 hour in the oven at 350°F is roughly equivalent to 4 hours on LOW or 2 hours on HIGH in the Crock Pot.
Once you get the hang of this, you’ll be converting recipes like a pro. Just remember to slash the liquid, extend the time, and you’re on your way to slow cooker glory.
Pro Finishing Touches and Avoiding Common Pitfalls
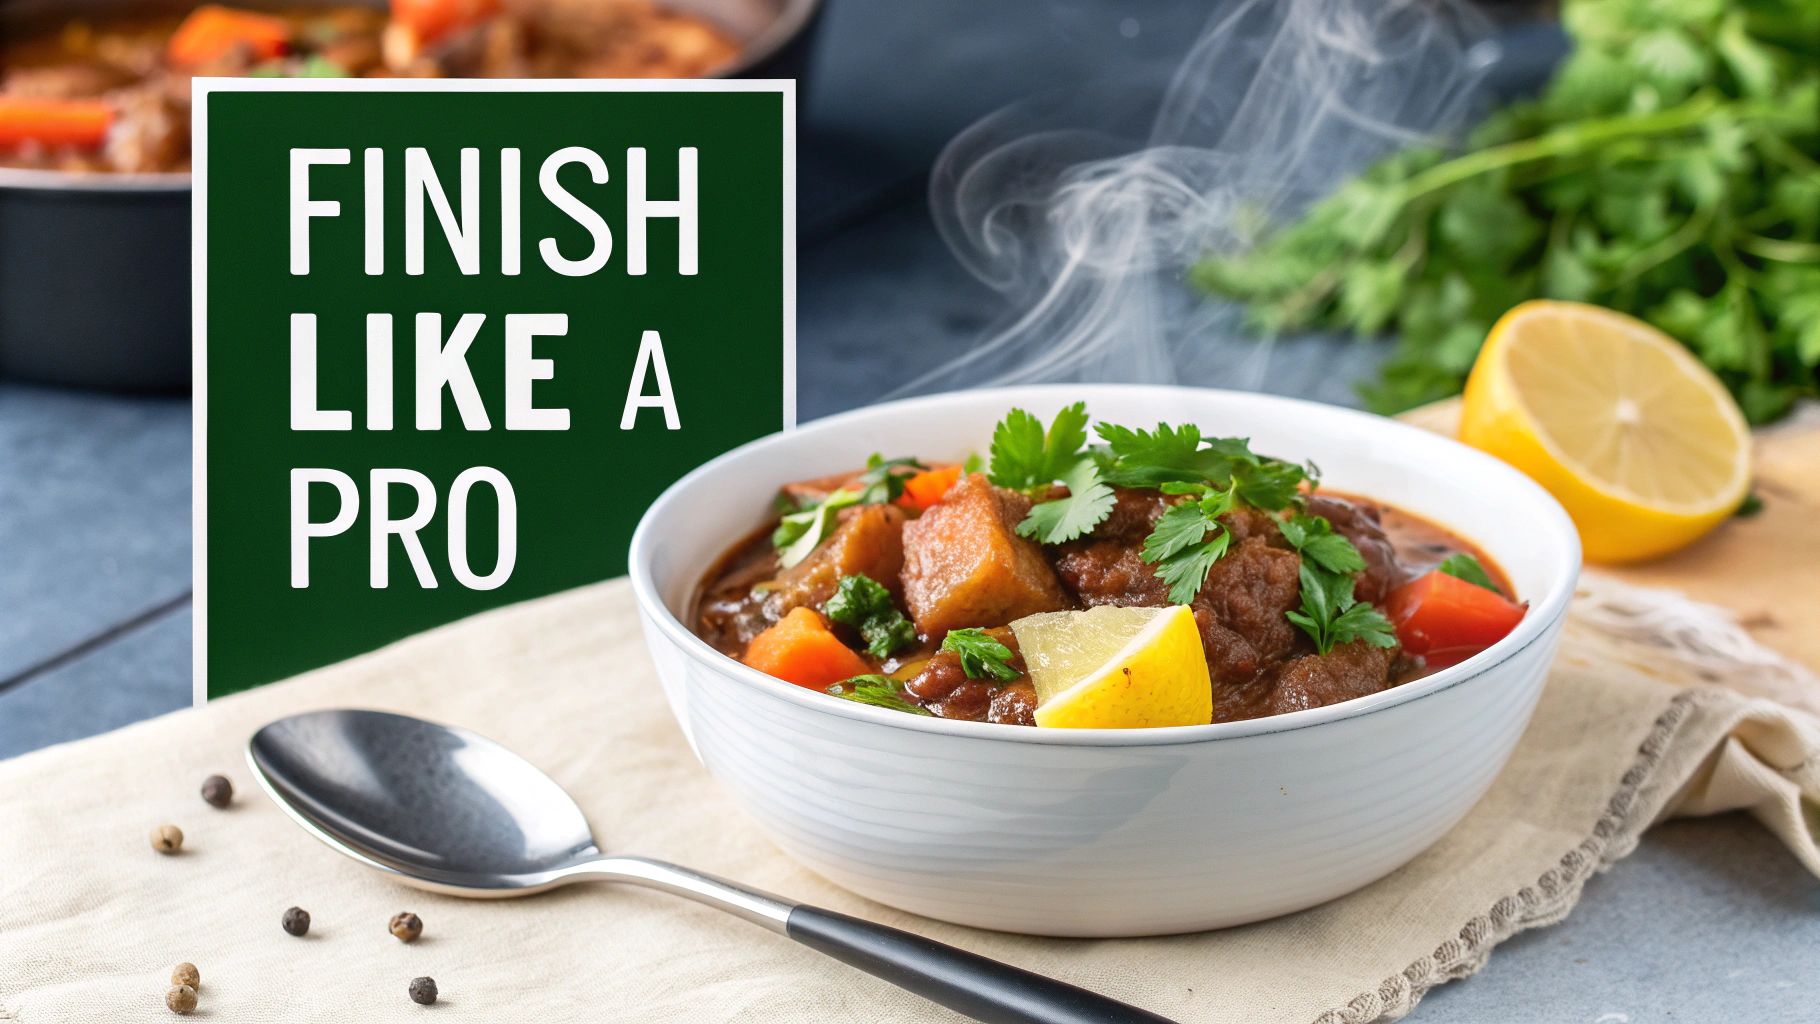
The house smells incredible. After hours of simmering, your masterpiece is almost ready. But hold on—don't just scoop it onto a plate. These last few minutes are where the real magic happens, transforming a good meal into an unforgettable one.
A little flash of something fresh right at the end can completely elevate your dish. Think a big handful of chopped parsley or cilantro to cut through the richness, or a squeeze of lemon juice to wake everything up. That little pop of acid makes all the other flavors sing. For chilis and stews, a dollop of Greek yogurt or sour cream adds a creamy, cool contrast that’s just heavenly.
Fixing Those "Uh-Oh" Moments
Hey, it happens to the best of us. You lift the lid, and things aren't quite right. Don't panic! Most slow cooker slip-ups are surprisingly easy to fix.
- The Watery Sauce Problem: This is probably the most common slow cooker snafu. The fix? A simple cornstarch slurry. Just mix one tablespoon of cornstarch with two tablespoons of cold water, then stir it into the pot. Crank the heat to HIGH for about 10-15 minutes, and you'll watch that soupy liquid transform into a rich, luscious sauce.
- Tough Meat Troubles: It feels counterintuitive, but if your meat is tough, it almost always needs more time, not less. The whole point of low-and-slow cooking is to melt down all that tough connective tissue. Be patient. Pop the lid back on and let it go for another hour or two on LOW. You'll be rewarded with fall-apart tender meat.
- The Mushy Veggie Mishap: This one's all about timing. Nobody wants sad, mushy vegetables. For delicate stuff like zucchini, spinach, or peas, toss them in during the final 20-30 minutes of cooking. They'll come out perfectly tender-crisp.
Here's the most important tip of all: Taste your food before you serve it! A final check for salt, a few grinds of black pepper, or a pinch of red pepper flakes can tie everything together and make a world of difference.
Of course, a happy crock pot is a clean one. To keep your appliance in great shape for years to come, some of the same principles for cleaning restaurant equipment apply—it’s all about proper care. Mastering the crock pot is a delicious journey, and with these tricks up your sleeve, you're guaranteed a fantastic result every single time.
Let's Tackle Your Biggest Crock Pot Questions
Even the most straightforward kitchen gadget comes with its own set of questions. When you're getting the hang of your crock pot, a few things always seem to come up. Let's clear the air so you can cook with confidence and avoid those classic beginner slip-ups.
One of the first things everyone wonders is, "Do I really have to be home for this thing to run all day?" The short answer is no, and that's the whole magic of it! Slow cookers are built for exactly this kind of set-it-and-forget-it cooking. You can absolutely head to work or run your errands while dinner simmers away. Just make sure it’s sitting on a sturdy, flat surface with nothing flammable nearby.
Can I Just Toss Frozen Meat in the Crock Pot?
This is probably the most debated question in the slow cooker universe. But when it comes to food safety, it's best to listen to the experts. The USDA gives this a hard no.
Here's why: a slow cooker heats up... well, slowly. Tossing in a block of frozen meat means it will spend way too much time hanging out in the bacterial "danger zone" (that not-so-sweet spot between 40°F and 140°F). To be safe, always thaw your meat in the fridge first.
A fantastic workaround for this is to get into the freezer meal game. You can prep entire meals, freeze them, and then just pop the bag in the fridge the night before. If you want to dive deeper, we've got a whole guide on making amazing crockpot freezer meals that are ready to dump and go.
And what about the urge to peek? We've all been there. The kitchen smells incredible, and you just want one little look. Don't do it! Every time you lift that lid, a ton of heat escapes. That single peek can add a solid 15-20 minutes to your cooking time. Trust the process.
---
Ready to make meal planning and grocery shopping ridiculously easy? Meal Flow AI generates personalized meal plans and sends the shopping list straight to Instacart, giving you back hours of your week. Start your stress-free meal planning journey today.