how to keep produce fresh longer: hacks that actually work
Learn how to keep produce fresh longer with proven tips to extend freshness and reduce waste.
Love This Article?
Get personalized meal plans with recipes like this, automatically matched to your nutrition targets.
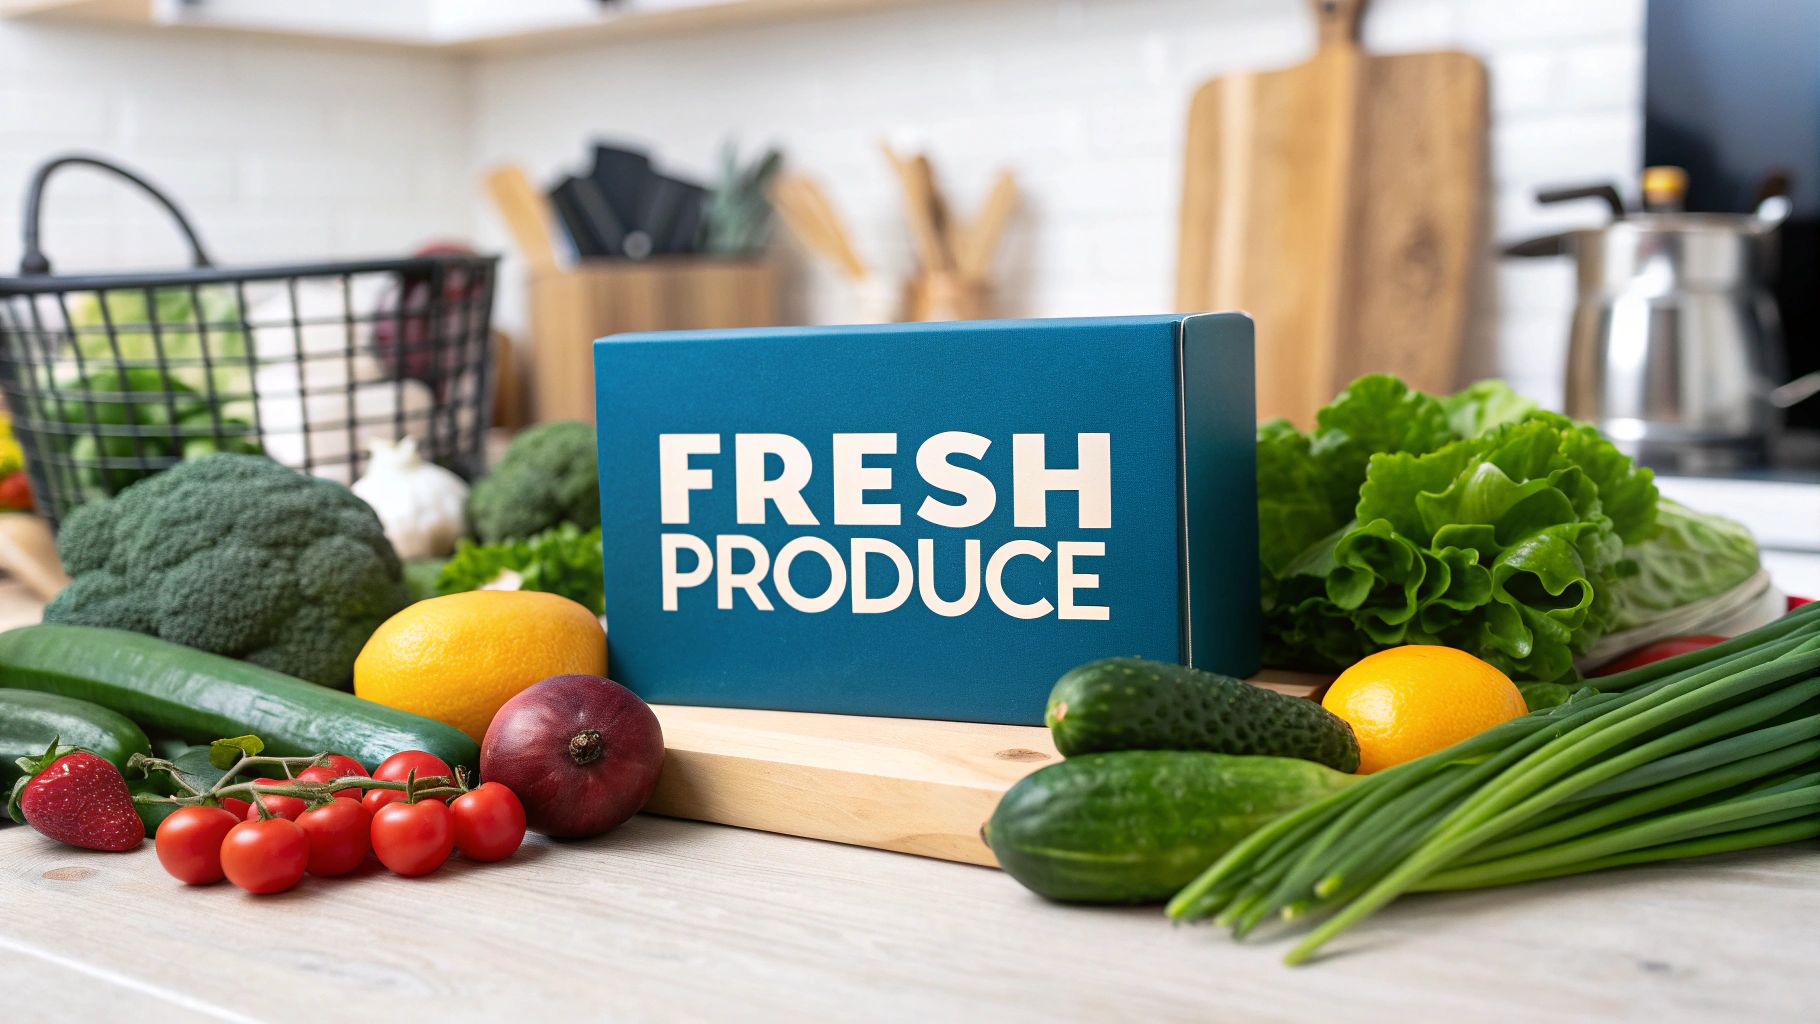
You’ve just returned from the grocery store, bags brimming with colorful, healthy produce. But how you unpack those groceries is the make-or-break moment for their shelf life. The single fastest way to keep everything from wilting by Wednesday is to store it correctly from the get-go.
It all boils down to one simple concept: separating the bullies from the victims. Some fruits and veggies release a gas that speeds up spoilage in their neighbors. Your first line of defense is knowing who plays well with others and who needs their own space in the fridge, on the counter, or in the pantry.
Your Quick Guide to Instantly Fresher Produce
We've all been there. You buy a gorgeous head of lettuce, and two days later, it's a slimy, sad mess in the back of your crisper. It feels like you’re literally throwing money in the compost bin. But what if I told you that a few simple tweaks to your routine could change everything?
The fight for freshness actually starts way before you even pick out your produce. Supermarkets are masters of the "cold chain," a system of precise temperature controls that keeps food pristine from the farm to the aisle. It's a huge deal—maintaining this chain can prevent the 5–10% price increases that spoilage during transit often causes. Globally, the numbers are even more shocking, with post-harvest losses reaching as high as 30 to 40 percent for certain foods. It really puts into perspective how critical temperature is. You can dive deeper into how the pros do it in this 2025 produce trends report.
When you get home, you take over as the keeper of the cold chain.
The Great Divide: Ethylene Gas-Makers vs. The Easily-Spoiled
If you learn just one thing today, let it be this: ethylene gas is the invisible enemy of fresh produce. Think of it as a ripening hormone that certain fruits and veggies release into the air. This gas signals everything around it to ripen, rot, and decay—fast. It’s the reason your avocado went from a green rock to a brown mush seemingly overnight after you left it next to the banana bowl.
The most powerful trick up your sleeve is simply keeping the ethylene producers away from the ethylene-sensitive crew.
- Ethylene Producers (The Ripeners): These are the culprits that release the gas. The usual suspects include apples, bananas, avocados, tomatoes, and stone fruits like peaches and plums.
- Ethylene-Sensitive Items (The Spoilers): These are the victims that break down quickly when exposed to the gas. This group includes leafy greens, broccoli, carrots, asparagus, and cucumbers.
Just give them their own space! A separate crisper drawer, a different bowl on the counter, anything to create some distance. This one small change stops the chain reaction of spoilage in its tracks.
Key Takeaway: Never, ever store your apples and your spinach in the same drawer. Unless, of course, you enjoy conducting science experiments in rapid decomposition. Keep them apart, and they'll both stay fresh far longer.
This simple separation is the foundation of a waste-free kitchen. Before we get into the nitty-gritty of humidity drawers and fancy storage bags, mastering this basic principle will give you an immediate and dramatic win against food waste.
To make it even easier, here's a quick reference guide for some common grocery items.
Where to Store Your Produce: A Quick Reference
Confused about what goes where? This table breaks it down so you can get it right every time you unpack your groceries.
| Produce Item | Ideal Storage Location | Pro Tip |
| Apples | Refrigerator | Keep in a separate drawer; they release lots of ethylene. |
| Avocados | Counter (to ripen) | Once ripe, move to the fridge to slow down further ripening for a few days. |
| Bananas | Counter | Separate them from the bunch to slow ripening. Keep away from other fruit. |
| Berries | Refrigerator | Don't wash until you're ready to eat! Moisture is the enemy. |
| Broccoli | Refrigerator | Store in an open or perforated bag in the crisper drawer. |
| Carrots | Refrigerator | If they have greens, cut them off first—they pull moisture from the roots. |
| Citrus Fruits | Counter or Refrigerator | They'll last longer in the fridge, but are juicier at room temperature. |
| Leafy Greens | Refrigerator | Wash, dry thoroughly, and store with a paper towel to absorb moisture. |
| Onions | Cool, Dark Pantry | Keep them away from potatoes! They'll make each other spoil faster. |
| Potatoes | Cool, Dark Pantry | Store in a paper or mesh bag, not plastic. Avoid light to prevent sprouting. |
| Tomatoes | Counter | Refrigeration kills their flavor and gives them a mealy texture. |
Getting this right is half the battle. By simply putting your produce in its happy place, you’re already miles ahead in the quest to keep it fresh and delicious all week long.
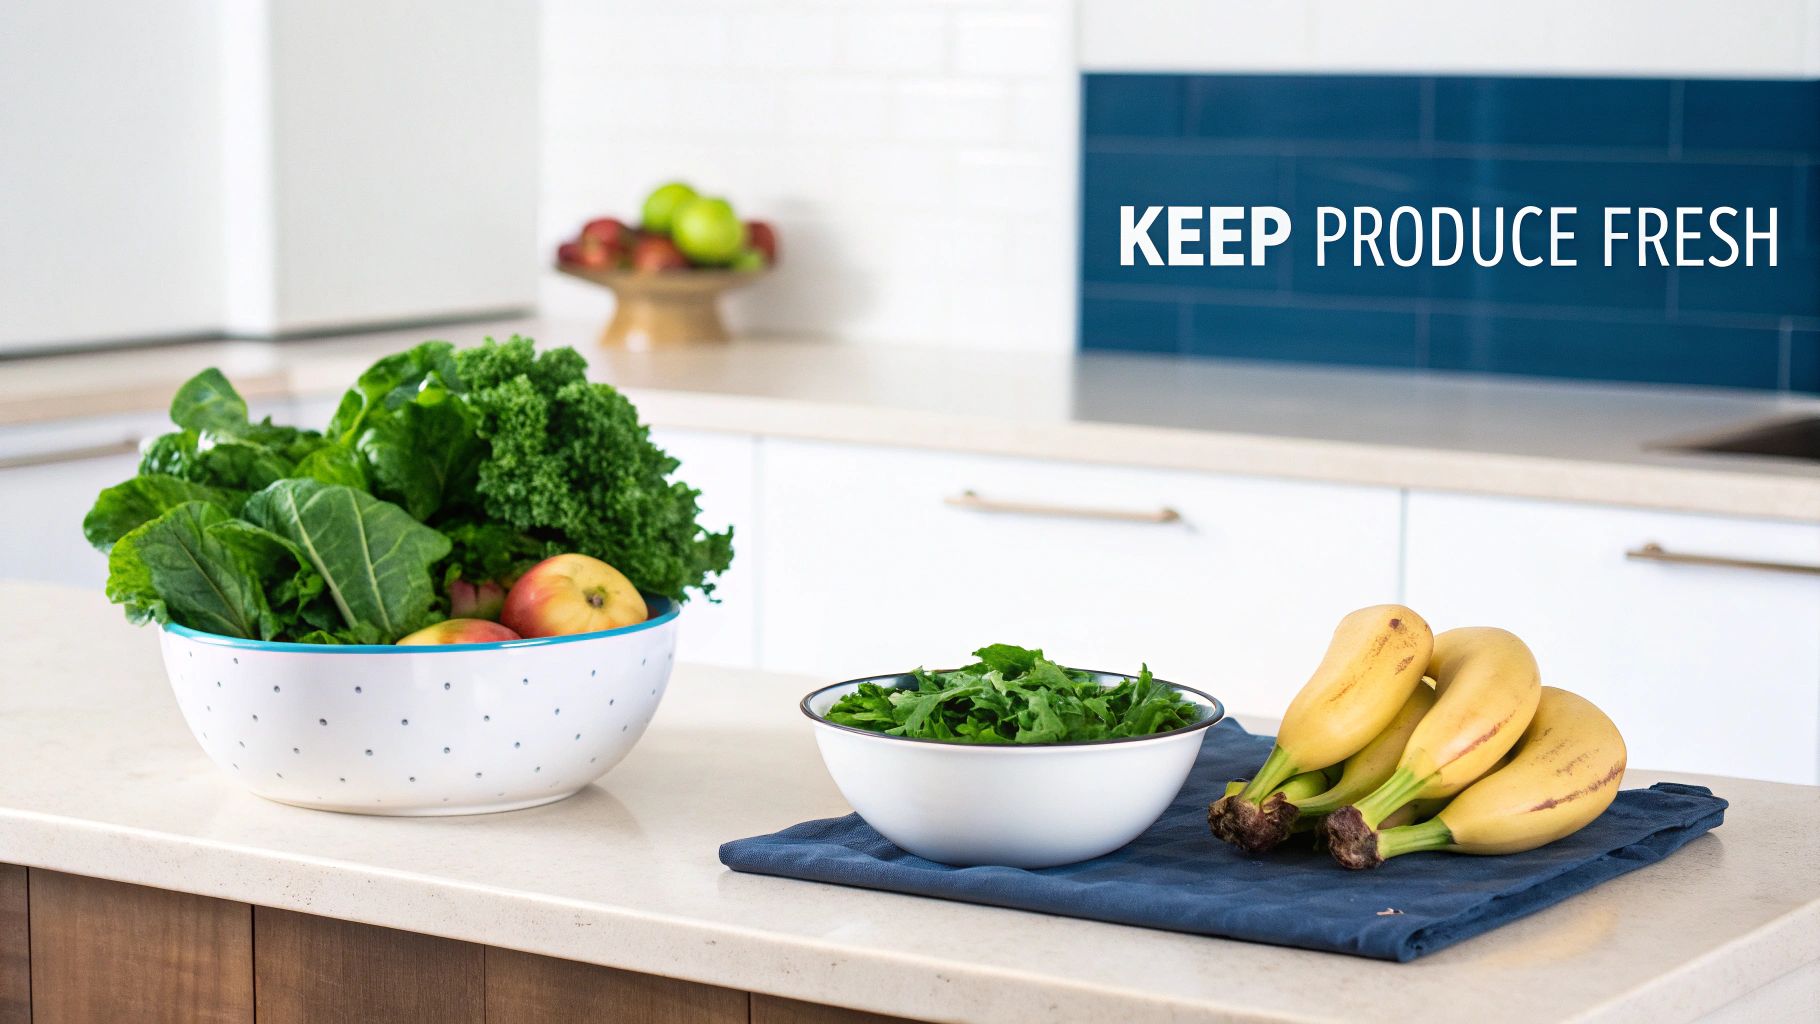
Master Your Fridge, Stop Wasting Food
Let's be honest, most of us treat the refrigerator like a cold, chaotic closet. We shove things in wherever there's a gap and hope for the best. But that humming box in your kitchen is actually a high-tech preservation chamber, and learning to use its features is a total game-changer for keeping your produce crisp, flavorful, and out of the compost bin.
The secret is knowing that different parts of your fridge do different jobs. The temperature isn't the same everywhere; some spots are colder, while others (like the door) are all over the place. Placing your groceries strategically is the first step in the science of keeping produce fresh longer.
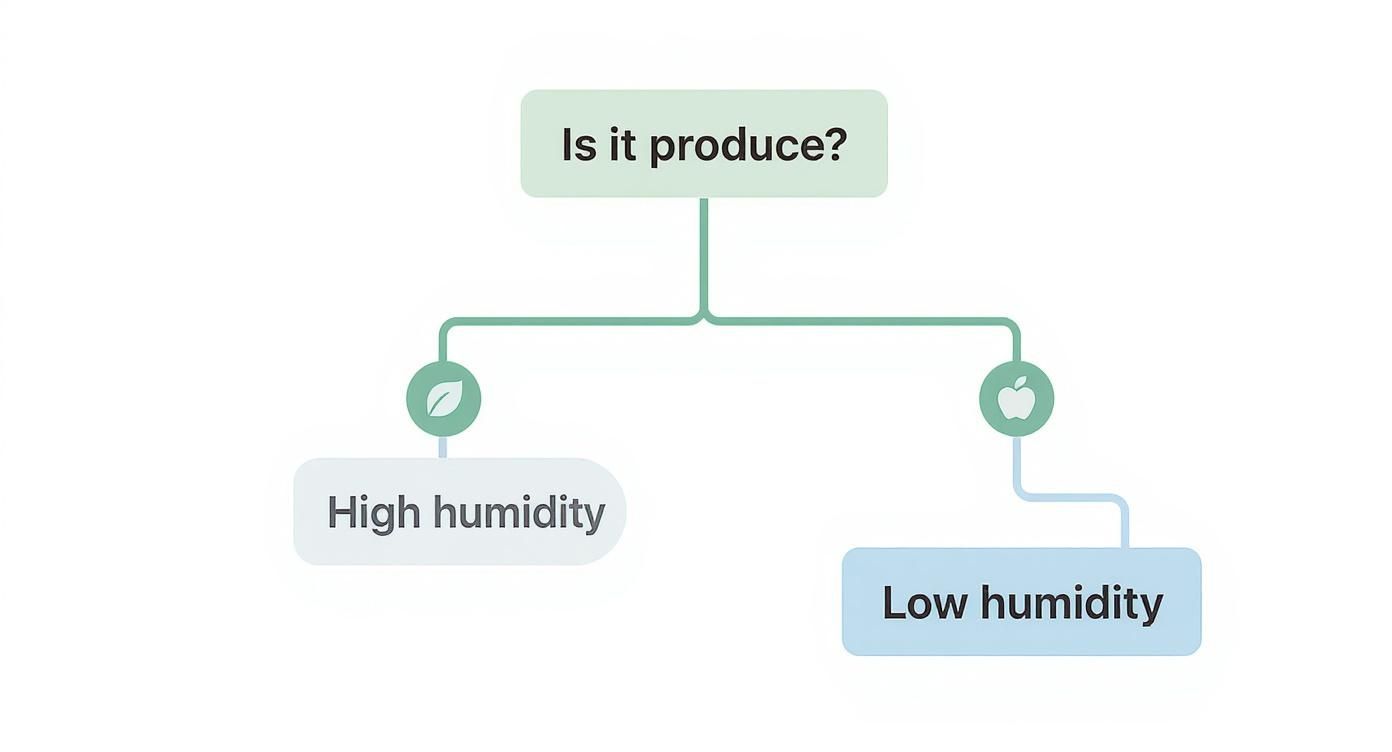
Your crisper drawers, for instance, aren't just bins. They're specialized humidity zones. Most modern fridges have two drawers with little adjustable slides—one for high humidity and one for low. Getting this right is probably the single most impactful fridge hack you can learn. Seriously.
The Great Crisper Drawer Mystery, Solved
So, what’s the big deal with humidity? It's simple: some veggies wilt and shrivel without moisture, while certain fruits rot in a flash if things get too damp. Those little sliders on your crisper drawers open or close a vent, controlling how much air—and moisture—gets in or out.
- High-Humidity Drawer (Vent Closed): Think of this as a mini-rainforest for your delicate greens. Closing the vent traps moisture, creating the perfect damp environment for anything that wilts easily.
- Low-Humidity Drawer (Vent Open): This setting lets air circulate and moisture escape, which is ideal for produce that’s prone to rotting or stuff that gives off a lot of ethylene gas.
Here’s a quick cheat sheet for what goes where.
| High-Humidity Heroes (The Wilters) | Low-Humidity Legends (The Rotters) |
| Leafy Greens (Spinach, Kale) | Apples & Pears |
| Broccoli & Cauliflower | Stone Fruits (Peaches, Plums) |
| Carrots & Celery | Avocados (once ripe) |
| Cucumbers & Bell Peppers | Grapes |
| Herbs (Parsley, Cilantro) | Mushrooms |
| Green Beans & Asparagus | Citrus Fruits (Oranges, Lemons) |
By separating your produce this way, you’re not just giving each type the climate it needs to thrive. You’re also managing that pesky ethylene gas we talked about earlier. The low-humidity drawer gives the gas an escape route, protecting your sensitive veggies next door from premature aging.
Strategic Fridge Real Estate: Beyond the Bins
The rest of your fridge has its own microclimates, too. Where you put things can make a huge difference in how long they last, especially the delicate stuff. The door, for example, is the warmest and most temperature-inconsistent part of the whole appliance.
My Two Cents: Never, ever store delicate produce like leafy greens or fresh herbs in the refrigerator door. The constant temperature swings from opening and closing it will make them wilt and spoil in record time. The door is for condiments, period.
Instead, start thinking about your fridge in zones.
- The Upper Shelves: This is prime real estate. The temperature here is the most consistent and stable, making it a great spot for leftovers, drinks, and ready-to-eat foods. If you've prepped some herbs or delicate berries, this is a much safer bet than the door.
- The Lower Shelves: This is generally the coldest part of your fridge. It’s the perfect place for raw meat, poultry, and fish, but it can also be a good spot for heartier vegetables if your crispers are overflowing.
- The Back of the Fridge: Be careful back there! The very back of the fridge can sometimes get too cold and might even freeze delicate items like lettuce or cucumbers, turning them into a mushy, inedible mess.
Oh, and resist the urge to play refrigerator Tetris. Packing your fridge to the brim is a bad idea. It blocks cold air from circulating, creating warm spots where bacteria can have a party and your produce can suffocate. Give your groceries some breathing room! Good airflow is key to keeping everything at a consistent, food-safe temperature.
Smart storage isn't just about freshness; it's a core part of running an efficient kitchen. When you know where everything is, you're far more likely to use it before it goes bad. This is especially true when you get into meal prepping, a topic you can dive into with our guide on how to store prepped meals. Mastering these principles ensures all your hard work pays off with delicious, fresh food all week long.
Your Kitchen's Secret Weapon: Taming the Ethylene Effect
Ever put a rock-hard avocado next to a banana and, like magic, it’s perfectly ripe the next day? That’s not magic—it's chemistry. You've just harnessed the power of ethylene gas, a natural plant hormone that’s basically a secret messenger telling produce to hurry up and ripen.
Understanding this invisible gas is the key to stopping your produce from turning into a science experiment in the fridge. Once you get the hang of it, you can become a master manipulator, keeping your food fresh by separating the troublemakers from their innocent, leafy victims.
It's simple: some fruits and veggies are notorious ethylene producers, constantly pumping it out. Others are incredibly sensitive to it, wilting and spoiling if they even get a whiff. Store them together, and you've just created a fast-track to mushy, moldy disappointment.
The Ripeners and The Wilters
The real trick is knowing who's who in your fruit bowl and crisper drawer. The biggest offenders are usually the fruits we buy most often. Once you can spot these "ripeners," you can quarantine them for the greater good of your grocery haul.
On the flip side, many of our favorite veggies are like delicate flowers around ethylene. Leafy greens turn yellow and limp, carrots get bitter, and broccoli loses its bright green pop. It’s a silent, invisible battle, but the results are all too obvious (and expensive).
A Quick Tip from My Kitchen: I've learned to keep a separate fruit bowl on my counter just for bananas and another for apples. It seems small, but keeping these ethylene powerhouses isolated from my other countertop produce, like tomatoes, gives me days of extra freshness.
Managing your produce is also about humidity, not just gas. This is a game-changer.
This little chart is brilliant for quickly separating your groceries. Some things need moisture to stay crisp (high-humidity), while others will rot in a heartbeat if they get damp (low-humidity).
Separating Your Produce for a Longer Life
So, how does this all work in the real world? It's all about creating designated zones for your food. The best way to get a handle on this is to see the main culprits and their victims side-by-side.
Ethylene Producers vs Ethylene-Sensitive Produce
Here's a quick cheat sheet to help you sort your groceries and stop them from sabotaging each other. Think of one column as the "party starters" and the other as the ones who just want a quiet night in.
| High Ethylene Producers (The Ripeners) | Highly Ethylene Sensitive (Keep These Separate!) |
| Apples & Pears | Asparagus & Green Beans |
| Bananas (especially as they ripen) | Broccoli & Cauliflower |
| Avocados | Carrots |
| Stone Fruits (Peaches, Plums, Nectarines) | Cucumbers |
| Tomatoes | Leafy Greens (Lettuce, Spinach, Kale) |
| Melons (Cantaloupe, Honeydew) | Sweet Potatoes & Potatoes |
Seeing it laid out like this, it suddenly makes perfect sense why that bag of salad greens wilts when you toss it in the crisper next to the apples from your shopping trip.
Using Ethylene to Your Advantage
Now for the fun part. Once you understand the ethylene effect, you can make it work for you.
Got a pear that just won't soften? A mango as hard as a baseball? Don't just wait around. Place that stubborn fruit next to an ethylene producer to speed things along. The classic trick is popping an avocado or pear in a brown paper bag with an apple or banana overnight. The bag traps the gas, creating a super-ripening chamber that works wonders.
If you really want to level up, look into ethylene-absorbing products. These are little pods or discs, often called "produce savers," that you can stick in your crisper drawers. They use things like activated carbon to trap the ethylene gas, slowing down the ripening process for everything in there. They’re a fantastic investment if you’re constantly fighting overripe berries or limp greens.
Smarter Prep and Storage Techniques
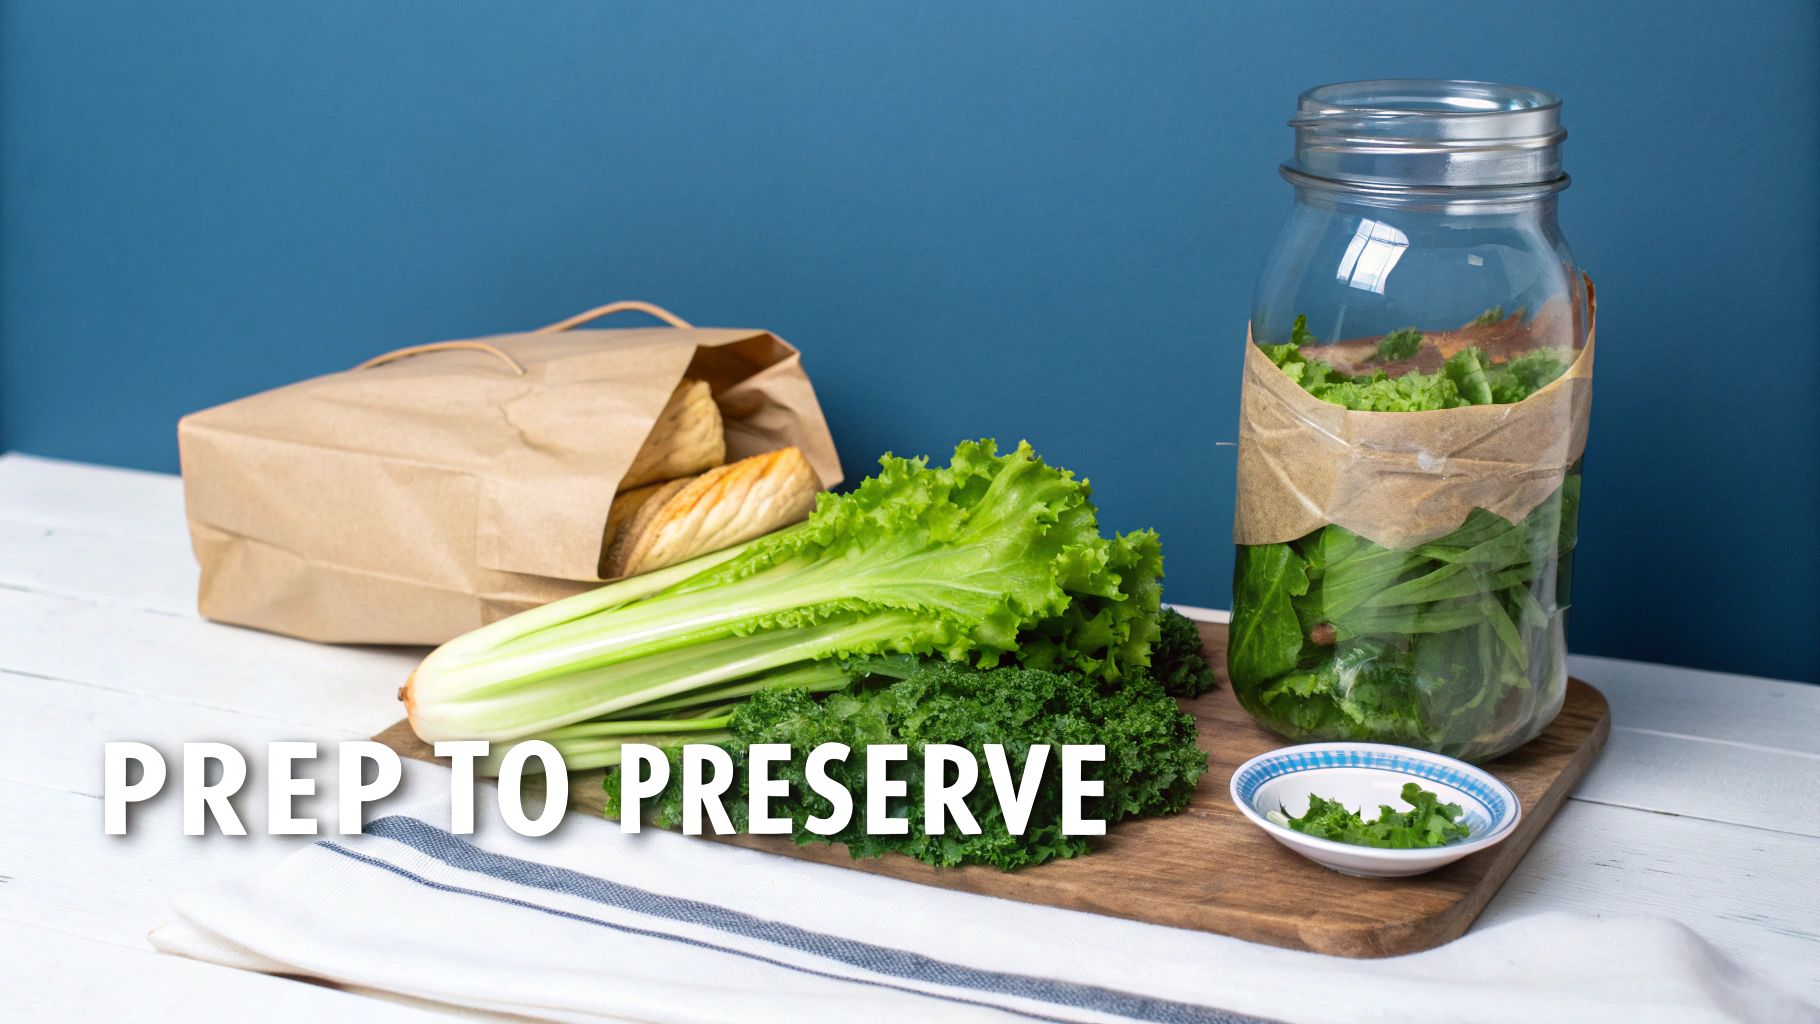
How you treat your produce before it ever sees the inside of your fridge can mean the difference between vibrant veggies and a sad, watery grave. These first few steps are your secret weapons for making everything last longer, often doubling its lifespan with just a few minutes of work.
Take the great "to wash or not to wash" debate. Rinsing delicate berries the moment you get home is a one-way ticket to a moldy mess—moisture is their mortal enemy. But for leafy greens? A proper wash-and-dry routine is the only way to keep them crisp for over a week.
The Art of Prepping Your Produce
Let's dive into some of the most effective prep tricks for everyday items. These aren't just old wives' tales; they are simple, science-backed methods that stop moisture loss, slow down decay, and keep your produce tasting the way it should.
Leafy Greens
Say goodbye to slimy spinach for good. The moment you bring home lettuce, kale, or other greens, give them a good rinse. The real trick, though, is to get them bone dry afterward. A salad spinner is your best friend here. Once they're dry, wrap the greens loosely in a paper towel or a clean dishcloth and pop them into a container or zip-top bag. The towel wicks away any rogue moisture that leads to slime.
For a full walkthrough on prepping all sorts of veggies, check out our guide on https://mealflow.ai/blog/how-to-meal-prep-vegetables.
Fresh Herbs
Don't let that gorgeous bunch of cilantro or parsley wilt in a day. Treat them like a bouquet of flowers! Trim the stems, stand them up in a jar with about an inch of water, and loosely cover the top with a plastic bag. Stored this way in the fridge, they'll stay vibrant and perky for weeks, not days.
Crunchy Root Veggies
Carrots and celery lose their signature snap when they get dehydrated. If your carrots come with the leafy tops still attached, chop them off immediately—they literally suck the life and moisture right out of the root. I like to submerge my peeled carrot sticks in a container of water in the fridge to keep them crisp. For celery, wrapping the entire stalk tightly in aluminum foil (not plastic wrap!) is a shockingly effective trick. The foil lets ethylene gas escape but traps just enough moisture to keep it crunchy for weeks.
Choosing the Right Containers
The container you use is just as important as the prep work. Just tossing everything in the flimsy plastic produce bags from the store is a common mistake that basically suffocates your veggies.
My Personal Rule: Glass is almost always better. I've found that produce stored in glass containers—from carrot sticks to bell pepper slices—stays significantly fresher and crisper than in plastic. It just creates a more stable, less porous environment.
Here are a few storage ideas that work wonders:
- Glass Jars & Containers: Perfect for cut veggies like carrots, celery, and bell peppers stored in water. They're also fantastic for keeping washed and dried lettuce perfectly crisp.
- Ventilated Bags: Potatoes, onions, and garlic need to breathe. Keep them in a cool, dark pantry using mesh or paper bags that allow for air circulation. Never plastic.
- Airtight Containers (with a paper towel): Excellent for washed leafy greens, broccoli florets, and sliced cucumbers. That paper towel is non-negotiable; it's there to absorb any condensation.
A clean kitchen is also part of smart storage. Ripening produce can attract pests, and knowing how to catch fruit flies can be a lifesaver when you spot those tiny unwanted guests buzzing around your fruit bowl. Taking these few extra steps will ensure you get the most flavor, nutrition, and value out of every single grocery trip.
Preservation Methods for When Time Is Running Out
We’ve all been there. You had the best intentions, a fridge full of beautiful, healthy produce, and a plan. But then… life happened. Now you’re staring down a ticking clock, with a crisper drawer full of veggies teetering on the edge of no return.
Before you give up and head for the compost bin, let’s talk rescue missions. This is your emergency action plan. It’s time to turn that "about-to-go-bad" produce into delicious building blocks for future meals. Your freezer is about to become your greatest ally.
The Freezer Is Your Friend
Think of your freezer as the ultimate pause button for produce. But let's be real, just chucking a bag of spinach in there is a recipe for a sad, icy brick. To do it right, a couple of simple techniques will lock in the flavor, texture, and nutrients you paid for.
Flash-Freezing for Perfect Berries
Got a pint of blueberries or raspberries that are definitely not going to make it to the weekend? Don't let them become one giant, frozen clump.
- First, spread the berries out in a single layer on a baking sheet lined with parchment paper. Don't let them touch!
- Slide that sheet into the freezer for about an hour, or until each berry is frozen solid.
- Once they're like little marbles, you can transfer them into a freezer-safe bag or container.
This little trick means you can pour out a handful for your smoothie without needing an ice pick. It works like a charm for sliced bananas, peaches, and strawberries, too.
Blanching for Vibrant Veggies
For things like green beans, broccoli, or asparagus, a quick dip in boiling water is a game-changer. This step, known as blanching, is your secret weapon. It stops the enzymes that make frozen veggies lose their bright color, crisp texture, and vitamins over time.
It’s a simple two-step dance: boil the veggies for just 2-3 minutes, then immediately plunge them into a big bowl of ice water to stop them from cooking. Dry them really well before freezing to fend off those pesky ice crystals. This is the key to avoiding that dreaded freezer burn. If you really want to level up, it's worth understanding the science behind how to prevent freezer burn so your frozen stash stays perfect.
Quick Preservation Hacks Beyond Freezing
Your freezer is a powerhouse, but it's not the only tool in your food-saving toolkit. When you have a few minutes to spare, these simple methods can work wonders.
My Go-To Herb Saver: I almost never let fresh herbs go to waste anymore. I chop up leftover parsley, cilantro, or basil, pack the bits into an ice cube tray, and pour olive oil over the top before freezing. These little flavor bombs are incredible for dropping into soups, sauces, or a hot pan to start a sauté.
Here are a couple of other brilliant last-minute saves:
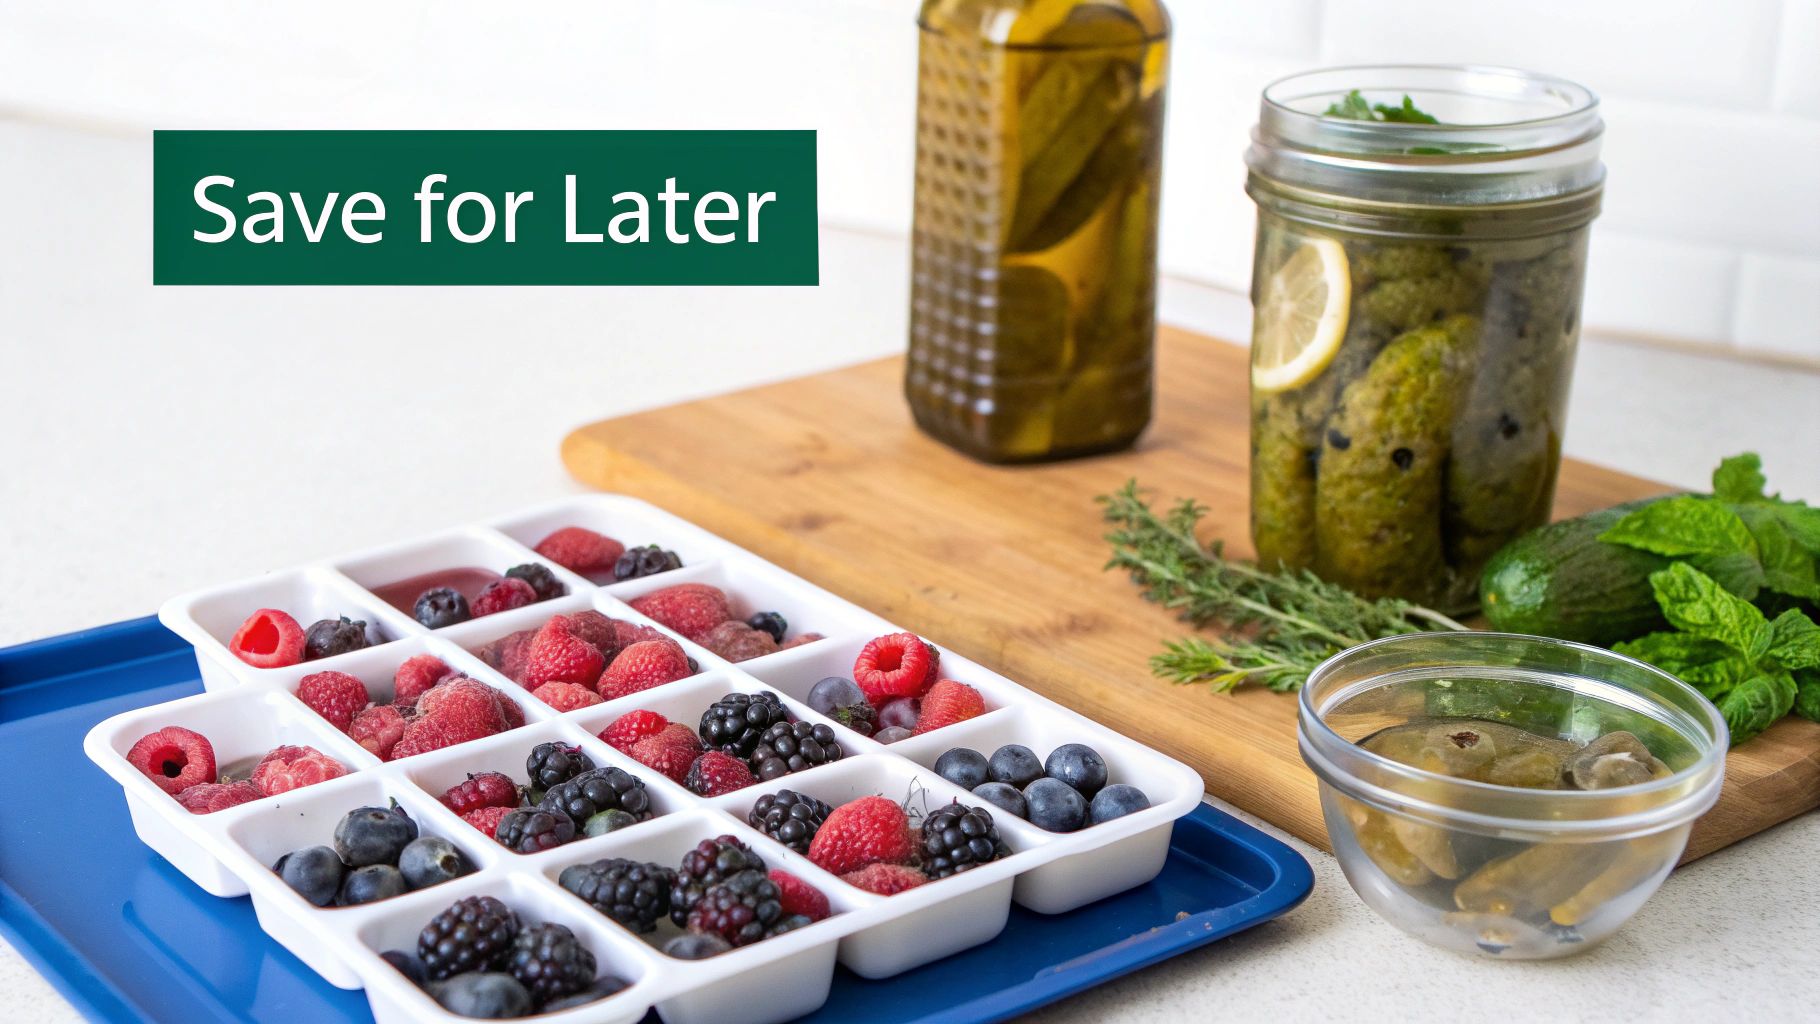
- Quick-Pickle Almost Anything: Is that cucumber looking a little limp? Those red onions past their prime? Slice 'em thin and dunk them in a simple brine of equal parts vinegar and water, plus a spoonful of sugar and salt. In as little as an hour, you’ll have tangy, crisp pickles that will keep for weeks in the fridge.
- Create a "Soup Starter" Bag: I keep a large, labeled freezer bag just for this. Throughout the week, I toss in carrot peels, celery ends, onion skins, and herb stems. Once it’s full, I just simmer the contents in water for an incredibly flavorful—and totally free—vegetable broth.
By leaning into these preservation tricks, you're not just saving food. You're stocking your future kitchen with convenient, ready-to-use ingredients that make cooking from scratch so much easier.
Shopping Habits That Prevent Waste Before It Starts
Honestly, the best trick for keeping produce fresh doesn't start in your kitchen—it starts in the grocery store aisle. Your shopping strategy is your secret weapon against food waste, turning a boring chore into a smart move that saves you money and keeps your fridge full of good stuff. The first rule? Don't fall for the "great deal" trap on things that go bad quickly.
Sure, that giant bag of spinach for $5 looks like a bargain. But if you only get through half of it before it melts into green goo, you've actually just paid $5 for a very expensive small bag of spinach. Before you buy in bulk, just ask yourself one question: "Do I have a real, solid plan to use all of this before it dies?" If the answer isn't a confident "Heck yes," just put the family-sized bag down and walk away.
Become a Produce Inspector
Put on your detective hat. Don't just mindlessly grab the first bunch of cilantro you see; give it a proper look-over. Are the leaves bright and happy, or are they already looking a little sad and droopy?
- The Squeeze Test: Gently squeeze things like tomatoes, avocados, and peaches. You want a little bit of give, but absolutely no mushy spots.
- Color Check: Look for deep, rich, and uniform colors. Greens should be a vibrant green, not pale or yellowing. Berries should be bright and consistently colored, with no dull or bruised patches.
- Trust Your Nose: Fresh produce smells, well, fresh. If it smells funky, boozy, or just plain wrong, that’s your cue to move on.
This little inspection ritual only takes a few seconds but can add days of life to your produce once you get it home. And this mindset is just one piece of the puzzle; there are plenty of other effective food waste reduction strategies that can transform your entire kitchen.
Plan Your Meals Around Shelf Life
A truly brilliant grocery list isn't just organized by aisle; it's organized by how quickly things will spoil. The trick is to plan your meals to use up the delicate stuff first and save the tough guys for later in the week.
Here’s a quick example of what that might look like:
- Early Week Meals: Think salads with tender lettuce, anything with fresh basil or spinach.
- Mid-Week Meals: Time for sautéed bell peppers, broccoli, or asparagus.
- Late Week Meals: Break out the root vegetables—roasted potatoes, carrots, onions, and squash.
This "first in, first out" approach is a game-changer. When you unpack your groceries, do the same thing: move the older stuff to the front of the fridge so you see it and use it first. It’s a simple trick that makes sure everything gets eaten at its peak.
Let's Settle Some Kitchen Debates
Even the most seasoned home cooks have those nagging questions about certain fruits and veggies. You know the ones—the little debates that never seem to get resolved. Let's clear up a few of the most common produce puzzles once and for all.
First, the big one: Should you ever put tomatoes in the fridge? Please, for the love of all things delicious, don't do it. Refrigeration is a flavor-killer for tomatoes. The cold air zaps the enzymes that give them their summery taste and turns their texture into a sad, mealy mess. Let them live on your counter, out of direct sun.
How to Resurrect Sad-Looking Greens
We’ve all been there. You open the crisper drawer to find a bunch of kale or lettuce that has completely lost its will to live. It's a sad, limp sight. But don't you dare throw it out!
You can perform a little kitchen magic. Just give the stems a fresh trim and plunge the leaves into a big bowl of ice water for about 15-30 minutes. It's like a spa day for your greens—they'll rehydrate and crisp right up. This trick is a lifesaver for wilted herbs like cilantro and parsley, too.
And what about mushrooms? To wash or not to wash? The best way to handle them is a gentle wipe-down with a damp paper towel or a soft brush just before you cook them. Mushrooms are like little sponges; if you soak them, they get waterlogged and will steam instead of getting that beautiful golden-brown sear.
Avocado Pro-Tip: Once your avocado hits that perfect stage of ripeness, you can toss it in the fridge to press pause. This little hack will easily buy you an extra two or three days before it heads into mushy territory.
Finally, let's talk about spuds. Are sprouted potatoes a lost cause? Nope. While you definitely want to cut off any green bits you see, the sprouts are just the potato's way of saying it wants to grow. Just knock them off, and your potato is good to go. Knowing these little tricks makes a huge difference in keeping your produce fresh and your food waste down.
---
Ready to stop wasting time on meal planning and grocery lists? Meal Flow AI creates personalized meal plans and automatically sends the shopping list to Instacart, making your life easier. Discover how simple it can be.