How to Store Meal Prep: Tips to Keep Food Fresh & Safe
Learn how to store meal prep properly with our expert tips. Keep your meals fresh and safe for longer. Discover how to store meal prep today!
Love This Article?
Get personalized meal plans with recipes like this, automatically matched to your nutrition targets.

How to Store Meal Prep: Tips to Keep Food Fresh & Safe
The Unskippable Rules of Meal Prep Storage
You just spent a solid chunk of your Sunday crafting a week's worth of beautiful, healthy meals. Awesome! But let's be real—the last thing you want is for that glorious effort to end up tasting sad and questionable by Wednesday.
The real secret to keeping your food safe and delicious isn't just in the cooking; it’s all about what you do in that first hour after you turn off the stove.
Cool It Down, and Fast
This is the part everyone messes up. The single most critical step in storing your meal prep is rapid cooling. Think of hot food as a five-star resort for bacteria. Your job is to shut it down. You need to get your cooked meals from steaming hot to safely chilled as fast as you can to avoid the dreaded temperature “danger zone” (that’s between 40°F and 140°F), where bacteria throw a party and multiply like crazy.
I live by the Two-Hour Rule. You have a strict two-hour window to get that cooked food from the stove into the refrigerator. Leaving a big, bubbling pot of chili on the counter to "cool down naturally" is a rookie move and a major food safety no-no.
But hold on—don't just shove a massive, hot container straight into the fridge. That's a different kind of mistake. It cranks up the internal temperature of your whole refrigerator, putting everything else (like that milk and cheese) at risk. It also creates a "hot spot" in the middle of your dish, which stays warm for way too long.
So, how do the pros do it? We divide and conquer.
- Break It Down: Portion out big batches of soups, stews, grains, or chili into smaller, shallower containers. More surface area means faster cooling.
- Spread 'Em Out: For things like roasted veggies or chicken, spread them in a single layer on a baking sheet for 15-20 minutes before packing them up. The heat just radiates off.
- Give It an Ice Bath: This is my go-to trick for soups and sauces. Pour the liquid into a smaller pot or bowl, then place that container into a larger bowl filled with ice water. It cools things down in minutes.
Here’s a quick-glance guide to get you started. Think of this as your cheat sheet for those crucial first steps after the cooking is done.
Rapid Cooling and Storage Cheat Sheet
| Action | The 'Why' Behind It | Pro-Level Tip |
| Obey the 2-Hour Rule | Prevents bacteria from multiplying in the temperature "danger zone" (40°F-140°F). | Set a timer on your phone as soon as the food comes off the heat. Don't guess. |
| Divide Large Batches | Smaller portions in shallow containers cool down much faster and more evenly than one giant pot. | I use 2-cup glass containers. They're the perfect size for cooling *and* for a single meal portion. |
| Use an Ice Bath for Liquids | Water and ice pull heat away from soups or stews incredibly fast. | Stir the liquid in the ice bath every few minutes. This moves the warmer liquid from the center to the edges, speeding things up even more. |
Getting this cooling process right is half the battle. Once you nail this, you’re well on your way to meals that taste just as good on Thursday as they did on Sunday.
Mastering these cooling techniques is the foundation of successful meal prep. It’s what separates the pros from the people who end up tossing their food by midweek.
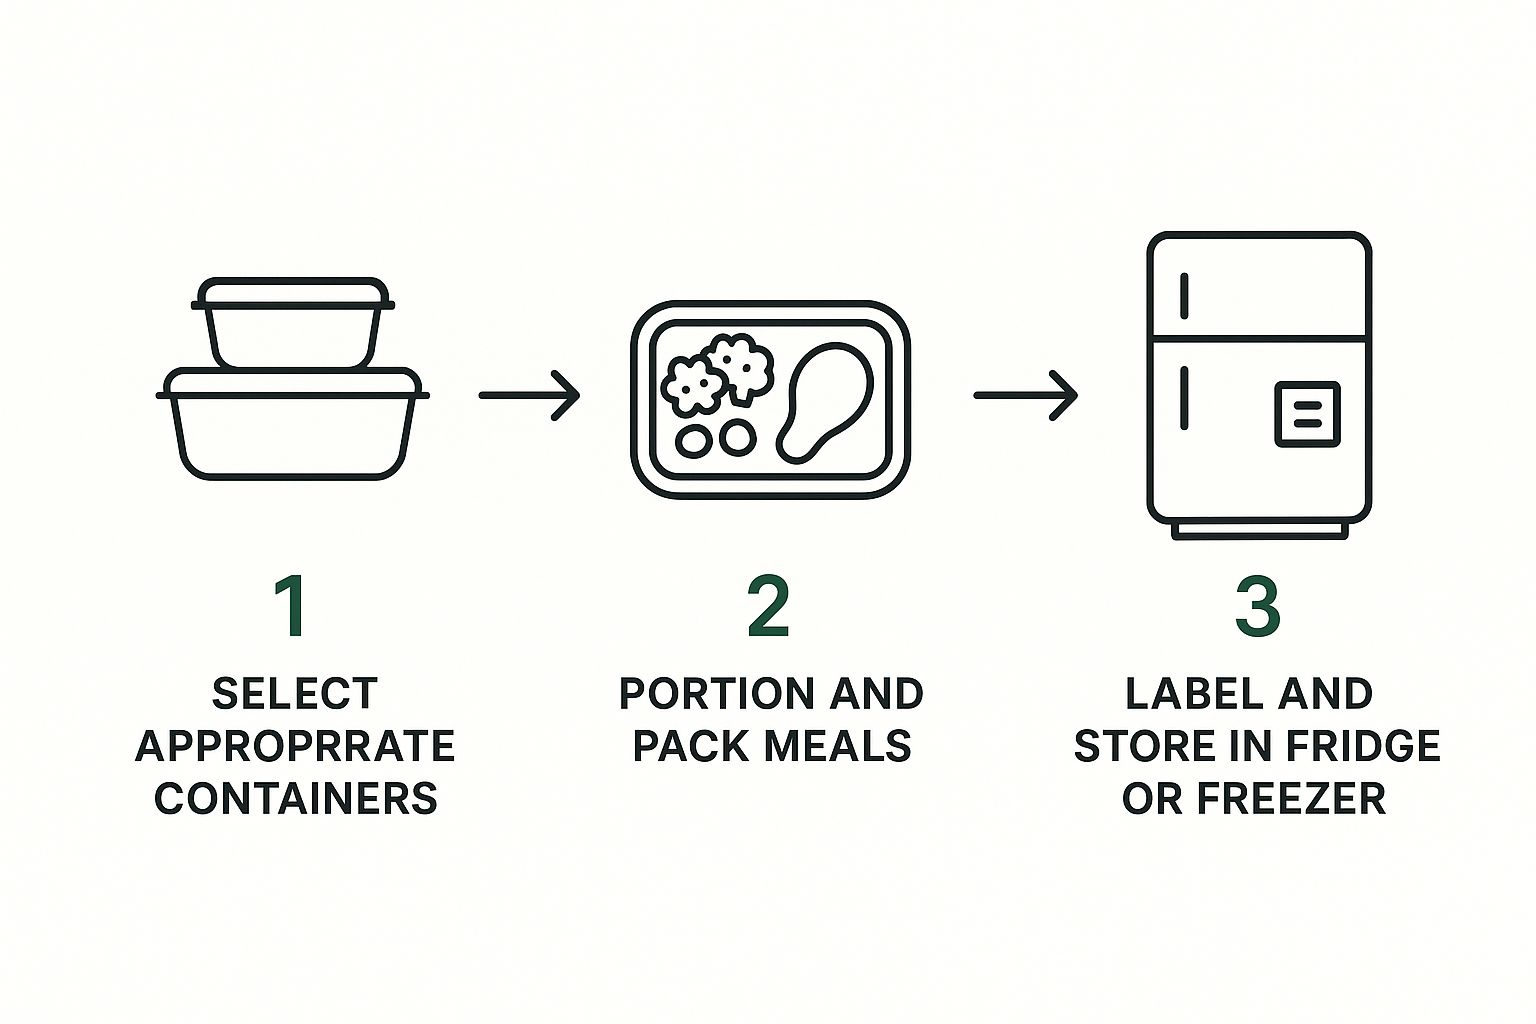
Building Your Container Arsenal
Let's be honest, your meal prep containers are the unsung heroes of your kitchen. It's time to finally graduate from that disaster drawer of mismatched, stained takeout boxes and build a collection that actually makes your life easier. Trust me, the right containers are a total game-changer, turning the puzzle of how to store meal prep into a simple, satisfying system.
The first big decision is material, and this really comes down to your daily grind. Glass is fantastic for reheating that saucy lasagna without leaving behind those dreaded tomato stains, but it's a beast to lug around in your gym bag. On the other hand, BPA-free plastic is light and travels well, but you have to be a bit more careful about what you microwave in it.
But here’s the real secret, learned from one too many sad desk lunches: the magic isn't just the container—it's the lid. A truly airtight seal is completely non-negotiable. It’s what stands between a crisp, fresh salad and a wilted, soggy mess. It’s also your only defense against that nightmare scenario where chili slowly leaks all over the inside of your work bag.
It seems like everyone is catching on to the importance of quality storage. The market for reusable meal prep containers was valued at a whopping US$87.6 million in 2024 and is projected to hit US$121 million by 2031. It’s a clear signal that people are moving away from flimsy single-use plastics. You can explore more about this trend and how it ties into more sustainable living.
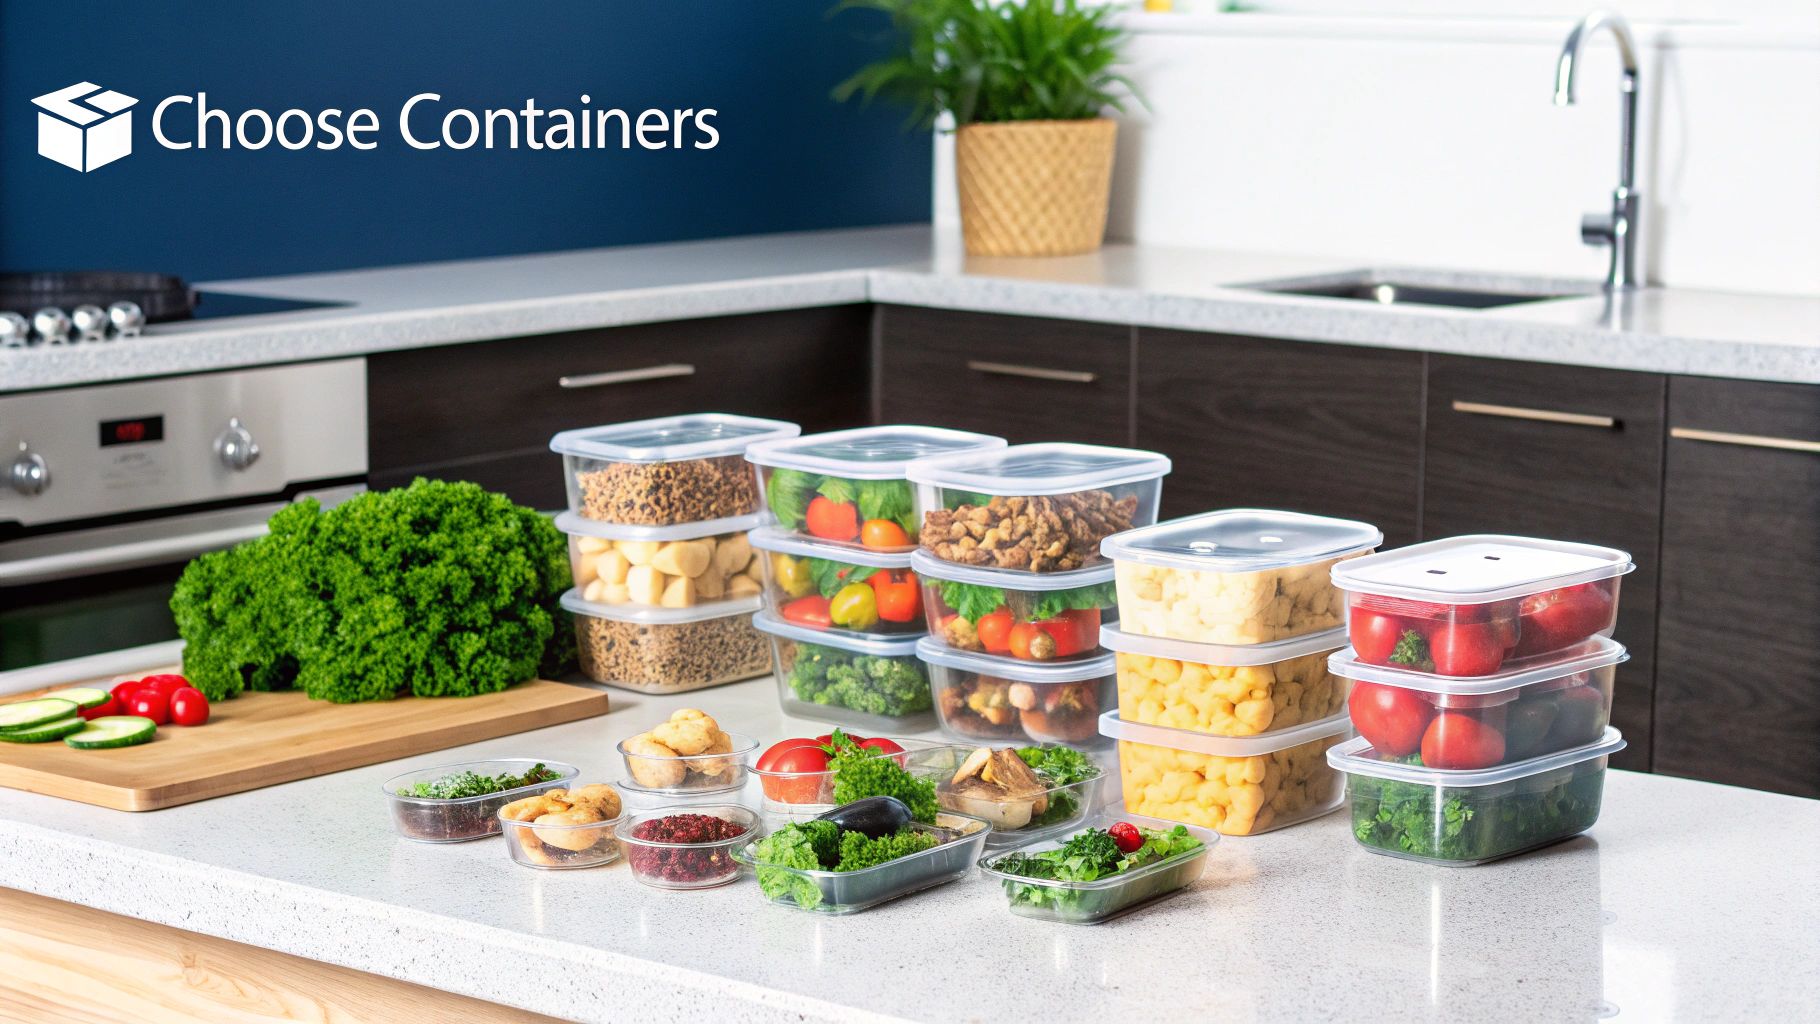
Choosing Your Go-To Containers
So, how do you pick your perfect match? Let's break down the most popular choices. Each one has its own personality, and what works best really depends on what you're making and where you'll be eating it.
- Glass Containers: For meals I plan to eat at home, these are my absolute favorite. They’re practically immune to stains and odors, and they can go straight from the fridge to the microwave or even the oven (just leave the lid out!). The only real downsides are their weight and the fact they can break, making them less than ideal for your daily commute.
- BPA-Free Plastic: This is the undisputed champion of portability. Plastic containers are lightweight, tough, and generally won't break the bank. They're my go-to for packing salads, trail mix, or sandwiches. Just make sure you're buying high-quality, BPA-free versions, and know that they can eventually stain or hold onto smells from things like curry or garlic.
- Stainless Steel: Think of this as the stylish, rugged alternative. Stainless steel is virtually unbreakable and won't leach any chemicals into your food. The catch? You can't stick it in the microwave. It’s brilliant for cold foods, though—perfect for bento-style lunches, grain bowls, and anything you want to keep separate and fresh.
Honestly, the smartest move is to build a mixed arsenal. Grab a few heavy-duty glass containers for reheating dinners, a solid set of reliable plastic ones for lunches on the go, and maybe a sleek stainless steel box for snacks. The key is to find stackable designs; they'll turn your chaotic fridge into a beautifully organized work of art.
Mastering Your Fridge and Freezer Space
Alright, let's talk about your meal prep headquarters: the fridge and freezer. You can cook the most amazing food, but if you don't store it right, you've lost the battle before it even begins. This is where you graduate from amateur to pro, turning those cold boxes into your greatest allies.
First things first, and this is non-negotiable: cool everything completely before it even thinks about going into the fridge. Shoving warm containers in there is a recipe for condensation, which leads to soggy salads, mushy grains, and a sad, premature end for your hard work. Just let your containers hang out on the counter until they’re cool to the touch. Then, and only then, do you lid them and stack them.
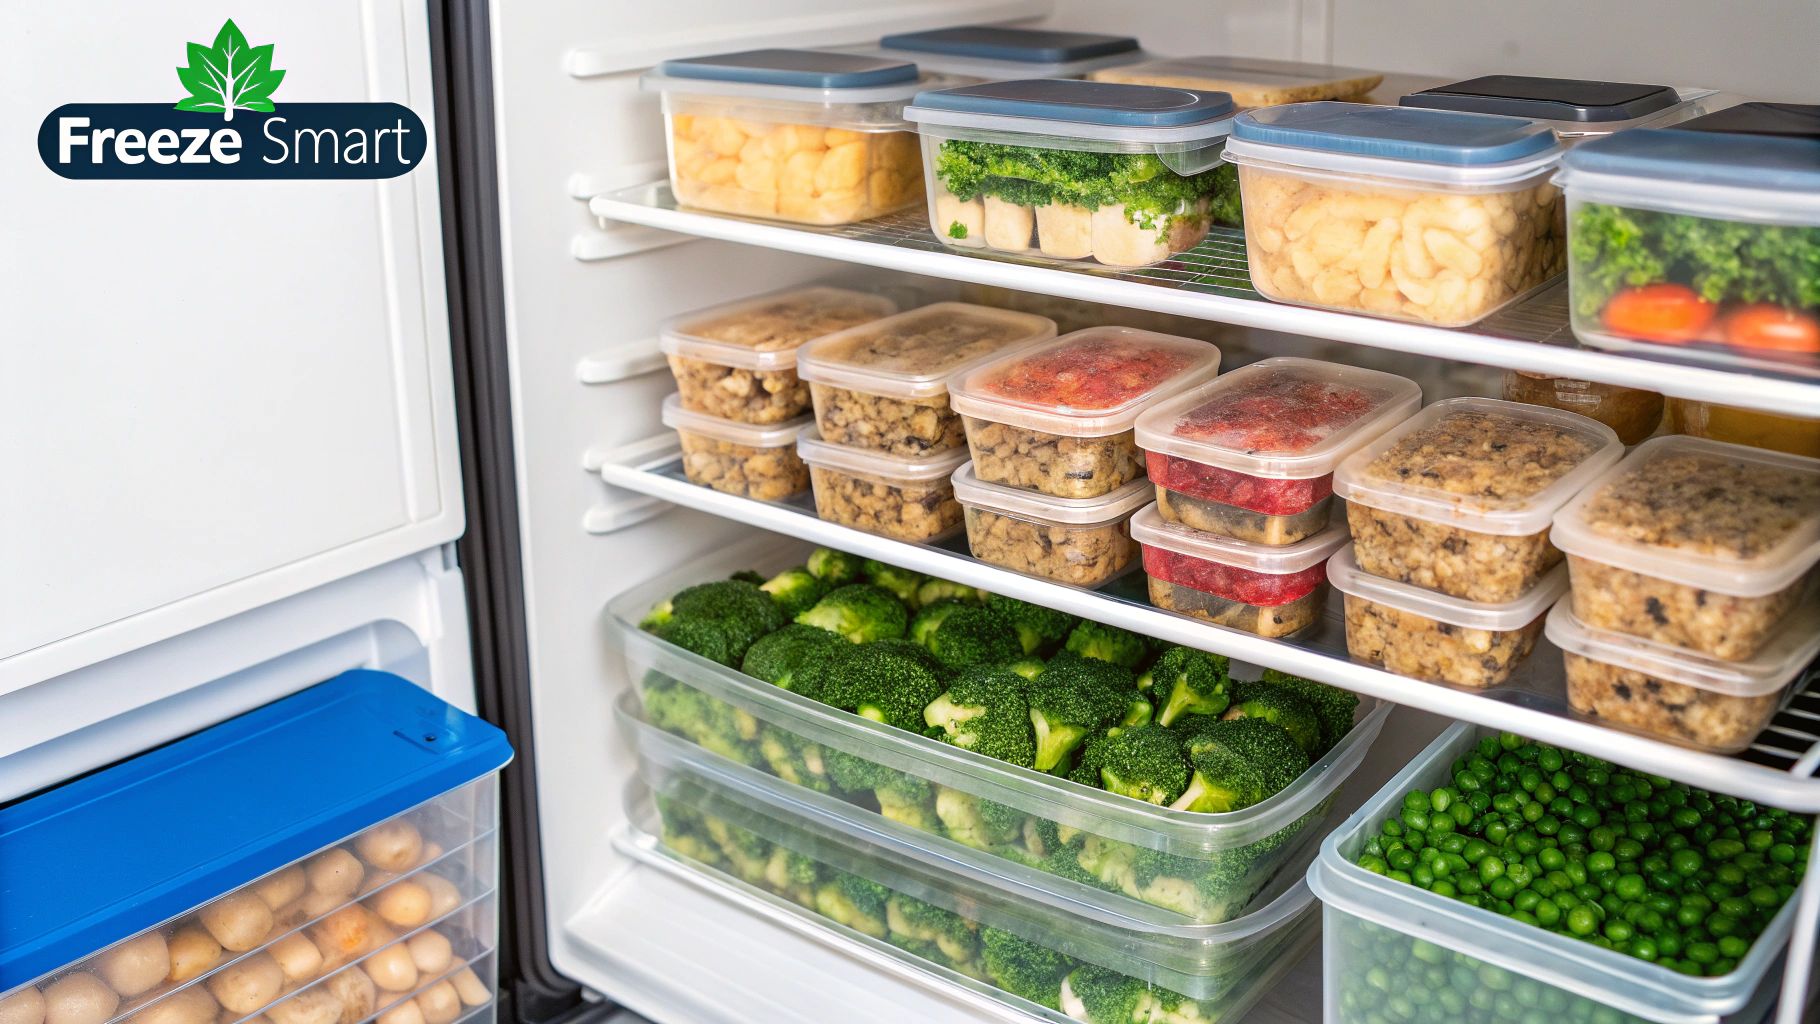
Perfecting Fridge and Freezer Tetris
Now for the fun part. Once everything’s cool, it’s time to play a little game I like to call "Fridge Tetris." The goal isn't just to make everything fit; it's about maximizing your space while keeping that cold air flowing. Proper airflow is the secret to maintaining a safe, consistent temperature.
- Stack Smarter, Not Harder: Get yourself a set of uniform, stackable containers. Seriously. They’ll create neat, stable towers and save you from the dreaded container-avalanche every time you open the door.
- Create Visibility: Always put the meals you cooked first at the front. It’s a simple "First In, First Out" (FIFO) system that makes sure you eat things before they get forgotten in the back.
- Give It Some Breathing Room: Don't cram your fridge so full that a mouse couldn't squeeze through. Leaving a little space between items lets the cold air do its job and circulate properly.
This focus on smarter storage isn't just happening in our kitchens. The global food storage market is huge—valued at around USD 375.69 billion in 2024—because everyone is getting serious about food safety and cutting down on waste. You can learn more about the food storage industry's growth to see how big this trend really is.
Pro-Tip: I live by designated fridge zones. One shelf is just for grab-and-go lunches. Another holds the week's dinners. The crisper drawer is for prepped ingredients like chopped onions and peppers. It makes finding what I need a 2-second job instead of a 5-minute excavation.
Knowing what to put where is just as important.
- Fridge Friends: Most of your cooked meals, salads (keep that dressing separate!), and chopped veggies are happy in the fridge for 3-4 days.
- Freezer Champions: Soups, stews, chilis, and hearty casseroles are perfect for the freezer. They'll taste fantastic for up to three months. Just avoid freezing anything with a creamy dairy sauce or watery veggies like cucumbers—they tend to get weird and mushy when they thaw.
Pro Tricks for Keeping Your Food Fresh All Week
Alright, let's talk about the real-world secrets that take your meal prep from "pretty good" to "still amazing on Friday." This is where you level up. Knowing a few key tricks for specific foods is the difference between a sad, soggy lunch and a delicious, fresh one.
The number one casualty of bad meal prep? The salad. We’ve all been there, staring into a container of slimy, wilted greens on day two. The absolute, non-negotiable rule is to always store your dressing separately. No exceptions!
But here’s the pro move: fold a paper towel and tuck it inside the lid of your salad container before you seal it shut. It sounds almost too simple to work, but it's a game-changer.
That little paper towel acts like a magnet for moisture, wicking away the condensation that makes delicate greens break down. It’s a tiny step that pays off big time in crunchiness.
Getting Specific: Smart Storage for Different Foods
You can't treat your roasted sweet potatoes the same way you treat your leafy greens. A one-size-fits-all approach is a recipe for disappointment. If you want your meals to taste as good on day five as they did on day one, you need a specific game plan.
Here are a few tricks I swear by for common meal prep staples:
- Mason Jar Salads: This is all about strategic layering. Pour your dressing in the very bottom. Next, add hard veggies that won't get soggy, like chopped carrots, cucumbers, or chickpeas. Follow that with grains, then protein. Finally, pack your delicate greens and nuts at the very top, safe and sound from the moisture below.
- Grains and Sauces: To avoid a mushy, sad pile of what used to be rice, always store grains and sauces apart. Whether you use a bento-style box with dividers or just two separate containers, only combine them right before you're ready to heat and eat. Trust me, it preserves the texture perfectly.
- The Avocado Dilemma: We've all seen a beautiful green avocado turn brown in a blink. To prevent this, press a piece of plastic wrap directly onto the cut surface, pushing out any air bubbles. A little squeeze of lemon or lime juice on the flesh also works wonders to stop it from browning.
If you’re serious about long-term storage, especially for the freezer, a vacuum sealer is your best friend. For things like big batches of chili, soups, or marinated chicken, sucking all the air out before freezing is a total game-changer. This virtually eliminates freezer burn, locking in freshness and flavor for months. It's how you turn your freezer into a personal time capsule of delicious, ready-to-go meals.
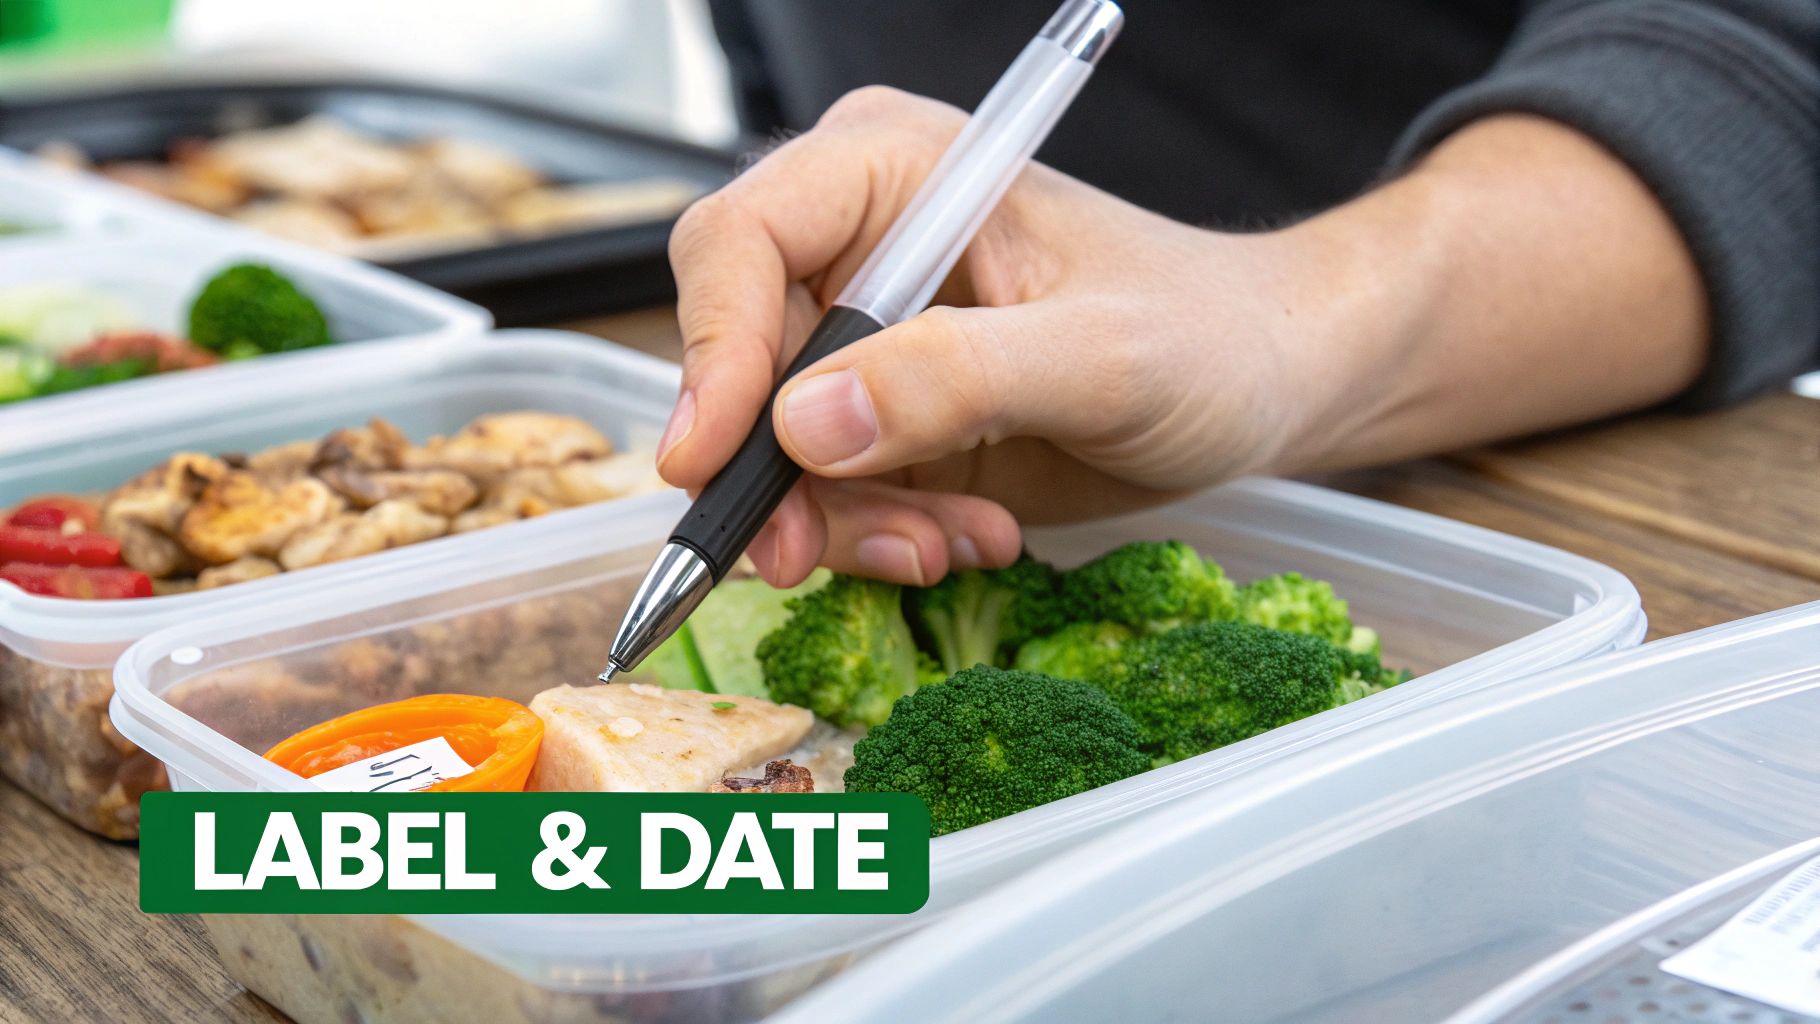
The Simple Art of Labeling and Organization
Let's be honest, we've all played "mystery meal" roulette when staring into the fridge. That unlabeled container in the back? It's a one-way ticket to forgotten leftovers and, eventually, food waste. But a ridiculously simple labeling system can fix all that.
This is about more than just scribbling “chicken” on a lid. The best labels tell a story, giving you the full picture in a split second. It’s a foundational habit for anyone who wants to truly master how to store meal prep without the stress.
Create Your Perfect Label
You don't need to get fancy here. A roll of painter’s tape and a permanent marker are my go-to. Why? Because it’s cheap, it works, and it peels off clean without leaving that infuriating sticky gunk behind. If you're a fan of glass containers, a washable chalk marker is a game-changer—it looks sharp and wipes away with a little water.
Whatever you use, make sure your label has these three non-negotiables:
- What It Is: Get specific! Not just "soup," but "Spicy Black Bean Soup."
- Prep Date: This is your food safety anchor. Knowing when it was made is critical.
- Use-By Date: This is the most important piece of the puzzle. A quick "Eat by Friday" takes all the guesswork out of the equation.
The real magic happens when you nail the "First In, First Out" (FIFO) method. It sounds like something from a restaurant kitchen, but it's simple: arrange your meals so the ones that expire soonest are right at the front. This puts your meal rotation on autopilot and drastically cuts down on waste.
This organized mindset is a big deal. The global food container industry, valued at a whopping USD 331.7 billion in 2024, is surging because we all crave convenient, organized meal solutions. You can see more data on the food container market to understand the scale of it. This isn't just about being neat; it's a proven system that saves you real time and money.
Your Meal Prep Storage Questions Answered
Alright, let's talk about what happens after you’ve done all that chopping and cooking. You've got a fridge full of delicious-looking meals, but how long will they actually stay that way? Knowing the shelf life of your hard work is what separates a meal prep pro from someone who just made a lot of leftovers.
Let’s get one thing straight: most of your cooked meals—we’re talking chicken, fish, ground beef, roasted veggies—are at their best for about 3-4 days in the fridge. Pushing it past that is a gamble on both taste and safety. Stick to that window, and you'll be golden.
Fridge vs. Freezer: A Simple Guide
Now, the big question: what can you toss in the freezer for a rainy day? It's tempting to think everything can be frozen, but trust me, some foods just don't survive the thaw. It's a culinary horror show you want to avoid.
Knowing what works and what doesn't will save you a world of disappointment.
- Freezer Champions: Hearty dishes are your best friends here. Think soups, stews, chilis, and casseroles. Cooked grains and most meat dishes also freeze like a dream. They'll be there for you when you need them most.
- Freezer Fails: Steer clear of freezing anything with a creamy or dairy-based sauce. They tend to separate and get a weird, grainy texture when reheated. Also, high-water-content vegetables like cucumbers, lettuce, and raw tomatoes are a definite no-go—they turn into a soggy, watery mess. And that crispy fried chicken? It’ll just be…sad and limp.
When it’s time to reheat, try to think beyond the microwave. It's quick, sure, but an oven or a skillet on the stove often brings back that "just-cooked" texture way better. A little splash of water or broth can also work magic, reviving dishes like rice or chicken that have dried out a bit.
Once you get the hang of these rules, you'll know exactly what to eat this week and what to stash away for a future busy day. No more wasted food, and no more sad, thawed-out meals.
---
Tired of the weekly meal planning puzzle and endless grocery lists? Let Meal Flow AI do the heavy lifting. Our smart platform creates personalized meal plans you'll actually love and sends the shopping list directly to Instacart. Get started at https://mealflow.ai and reclaim your Sundays.