How to Meal Prep Rice Without It Getting Gross
Learn how to meal prep rice that stays fluffy and delicious all week. Master the best cooking methods, safe storage, and reheating tricks that actually work.
Love This Article?
Get personalized meal plans with recipes like this, automatically matched to your nutrition targets.
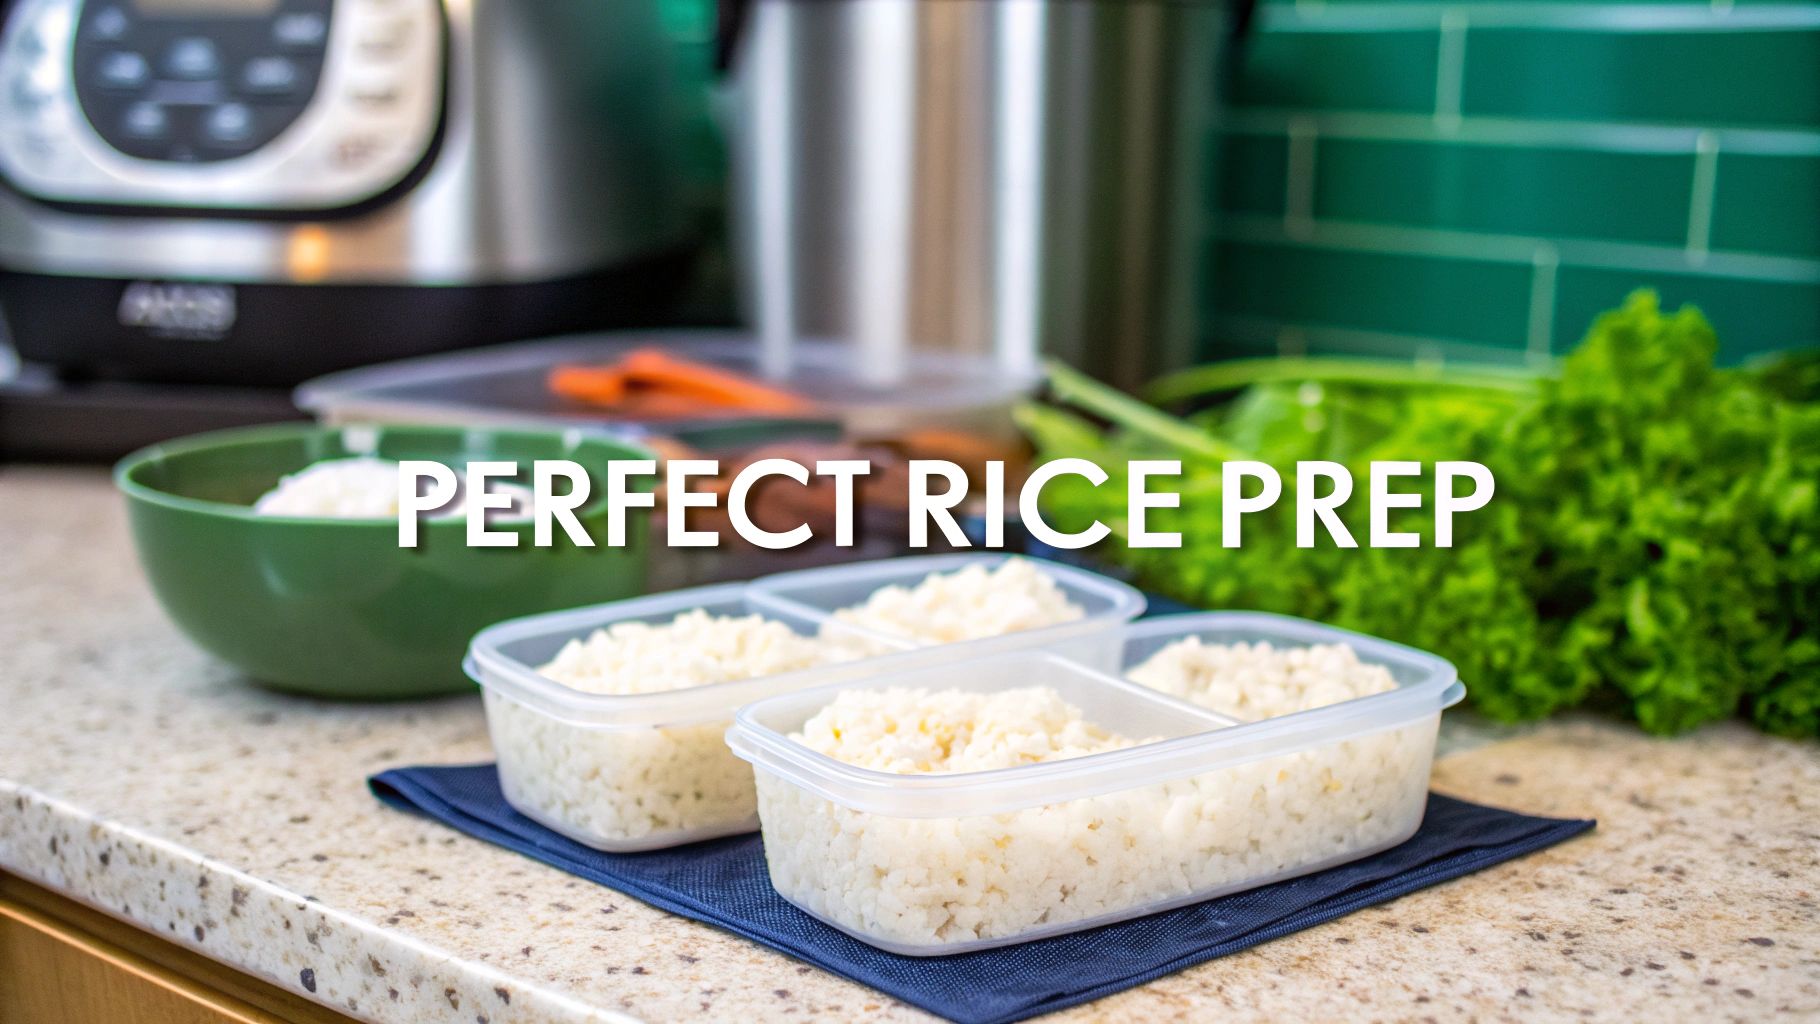
Alright, let's face it. Meal prepping can sound like a huge undertaking, but having a stash of perfectly cooked rice ready to go is one of those small things that makes a massive difference. This guide is all about getting that right. We're going to skip the fluff and get straight to the methods that actually work, so you can avoid sad, clumpy rice for good.
Why Nailing Your Rice Meal Prep Is a Total Game Changer
Learning how to batch cook rice isn't just about shaving a few minutes off your weeknight dinner routine. It's about setting yourself up for a week of easier, healthier, and way cheaper meals. Think about it: with a container of fluffy rice in the fridge, you're halfway to a killer grain bowl, a lightning-fast stir-fry, or a simple side for literally anything.
That one container of rice removes the biggest hurdle to cooking at home on a busy night.
It’s a skill that’s more useful than ever. Rice is a staple for a huge chunk of the world—projections show that 3.5 billion people will be eating it every single day by 2025. That's a lot of rice! It just goes to show why figuring out how to cook and store it efficiently is such a valuable kitchen hack for any household.
By setting aside a little time to cook a big batch, you’ll immediately see the benefits:
- Save Serious Cash: Say goodbye to overpriced takeout and those sad little microwaveable rice packets.
- Control Your Ingredients: You know exactly what’s in your food, from the salt to the oil. No surprises.
- Kill Decision Fatigue: The dreaded "what's for dinner?" question gets a whole lot easier to answer when the main carb is already done.
The real magic here is how a simple batch of rice can totally transform your week. It's the ultimate kitchen shortcut, letting you whip up all sorts of different meals without having to pull out a pot and start from zero every single night.
Of course, mastering rice is just one piece of the puzzle. If you want to get your whole week dialed in, check out our deep dive on how to meal prep for the week for more strategies to make your life a whole lot easier.
Picking the Right Rice for Your Prep
Let’s be honest, the secret to fantastic meal-prepped rice starts way before you even think about turning on the stove. It begins in the grocery aisle. If you want fluffy, distinct grains that don't turn into a sad, clumpy brick by day three, choosing the right type of rice is everything.
Grains That Go the Distance
For results that hold up all week, long-grain varieties are your absolute best friend. We're talking about fragrant Jasmine or the wonderfully nutty Basmati. These guys have a lower starch content, which is the magic behind why they stay separate and fluffy even after reheating. They are your go-to for grain bowls, stir-fries, or just a simple, perfect side.
Mastering this simple choice is the first step to unlocking some serious meal prep benefits.
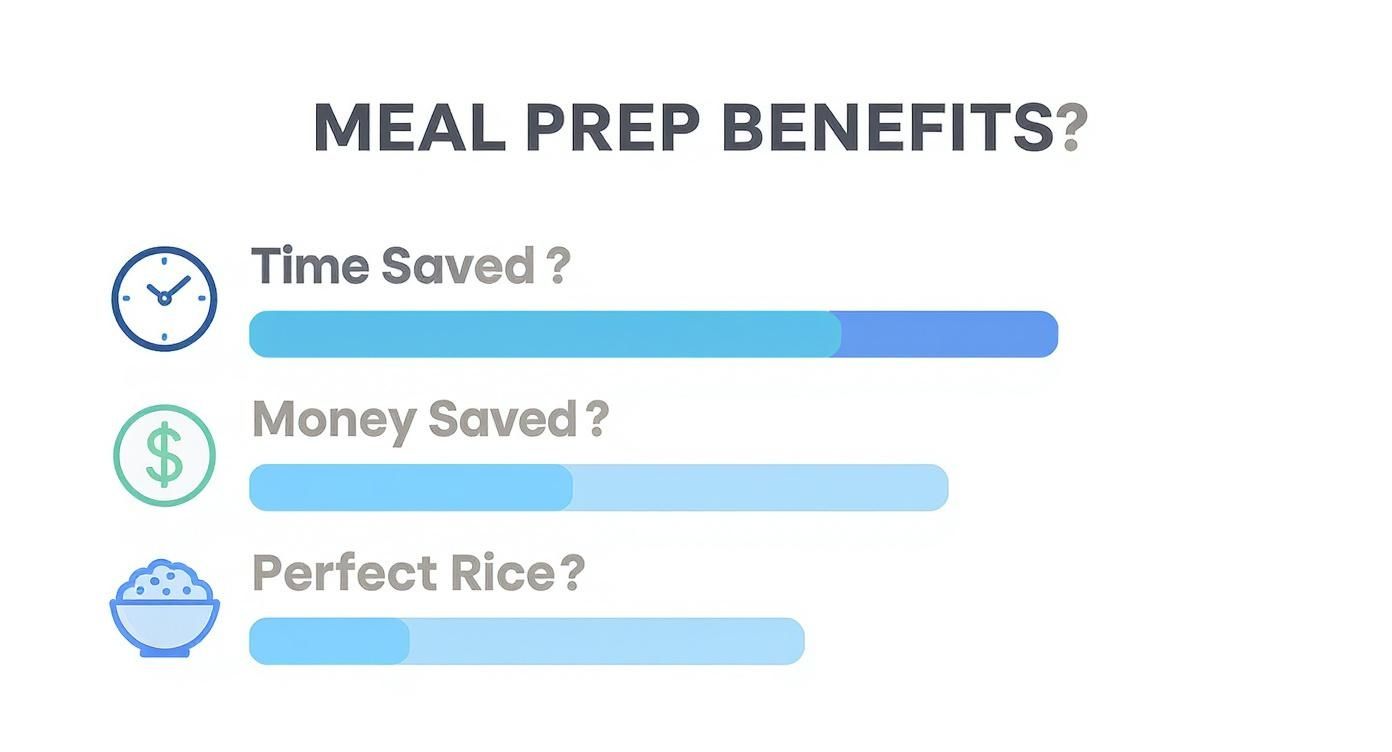
As you can see, a little bit of planning pays off big time. You get perfect rice, save a surprising amount of cash, and win back precious hours in your week.
While long-grain white rice is a fantastic all-rounder, don't sleep on the heartier options. Brown rice, with its slightly chewy bite and earthy flavor, is a meal prep champion. That tough little bran layer helps it keep its shape, so it reheats beautifully without getting mushy.
Now, let's talk about what to avoid. Generally, you'll want to steer clear of short-grain rice like Arborio or the kind used for sushi. These are specifically bred to be starchy and sticky—perfect for a creamy risotto or a tightly-packed sushi roll, but a nightmare for weekly meal prep. That stickiness is exactly what will lead to a gummy, unappetizing texture when you try to warm it up later.
My rule of thumb: If you want fluffy and separate, go long-grain. If you need creamy and sticky, choose short-grain, but cook it for a meal you plan to eat right away.
Getting this right is a game-changer. Rice is a massive part of diets worldwide, with the global market projected to hit around USD 302.4 billion by 2025. A huge chunk of that—USD 139.7 billion, to be exact—is just from long-grain rice. This isn't just a random stat; it shows how popular these grains are and why learning to prep them perfectly is such a valuable kitchen skill. If you're a data nerd like me, you can dive deeper into these numbers over at Market.us.
Four Foolproof Methods for Batch Cooking Rice
Let's be real: there’s no single "best" way to cook rice. The best way is whatever works for your kitchen, your schedule, and the mountain of rice you’re trying to conquer. We're going to walk through the four most reliable methods for turning a humble grain into a week's worth of meal-prepped magic. Each has its own vibe, from old-school and hands-on to completely automated.
Whether you're a stovetop purist or you worship at the altar of kitchen gadgets, one of these is about to become your new best friend.
The Classic Stovetop Simmer
This is the way most of us learned, huddled over a pot, and it's a fantastic skill to have in your back pocket. All you really need is a decent pot with a lid that actually fits snugly. The real secret here? Resist the urge to peek. I know it’s tempting, but every time you lift that lid, you’re letting out precious steam—the very thing that cooks the rice. That’s how you end up with a sad, crunchy mess.
Here’s a little trick I’ve picked up over the years: add a tablespoon of butter or oil to the water. It’s a tiny step that makes a huge difference, helping keep the grains from sticking together and adding just a hint of richness. Once the cooking time is up, slide the pot off the heat and let it sit, still covered, for at least 10 minutes. This little rest lets the steam work its final magic, making every grain perfectly fluffy.
The Effortless Rice Cooker
If you're looking for pure, unadulterated, set-it-and-forget-it convenience, you just can't beat a rice cooker. These things are engineered for one purpose: to cook rice perfectly, every single time, then automatically switch over to a "keep warm" setting. No watching, no worrying. Just press a button and walk away.
For anyone truly serious about making rice a weekly staple, a rice cooker is one of the best investments you can make for your kitchen. It completely removes the guesswork and delivers flawless results time and time again.
This "hands-off" approach is the very soul of batch cooking, where you prep a big portion of one thing to use in different meals all week. If you want to dive deeper into this game-changing philosophy, you can learn more about what is batch cooking and how it can totally transform your weekly routine.
The Surprising Oven-Baked Method
Okay, this one might sound a little weird, but stick with me—it is an absolute game-changer for massive batches. When you’re trying to cook more than four or five cups of rice at once, a stovetop pot can struggle, often burning the bottom layer. The oven, however, provides this incredibly gentle, even heat that cooks huge quantities to perfection.
It’s surprisingly simple:
- Toss your rinsed rice, boiling water (or broth for more flavor!), a little oil, and some salt into a big, oven-safe dish like a Dutch oven.
- Cover it up tight with a lid or a double layer of foil.
- Bake it at 375°F (190°C). White rice will take about 25-35 minutes, while brown rice will need closer to an hour.
What you get is perfectly cooked, fluffy rice all the way through, with zero scorching. It’s my go-to secret weapon when I’m prepping for a big family gathering or a seriously ambitious meal plan.
The Speedy Instant Pot
When time is not on your side, the Instant Pot (or any electric pressure cooker) is your hero. It slashes cooking time, especially for tougher grains like brown rice. We’re talking 20-25 minutes from start to finish instead of the usual 45 minutes on the stove.
The trick to perfect Instant Pot rice is the water ratio—you generally need less liquid than other methods, usually a straight 1:1 ratio for white rice. But the most important step is what happens after the cooking is done. Let the pressure come down on its own for 10 minutes (this is called a "natural release"). Don't skip this! It gives the rice that final bit of steam to absorb any leftover moisture, ensuring a perfect texture.
As you start perfecting your rice game, you might find yourself exploring all sorts of time-savers, even unconventional kitchen hacks like cooking with a dishwasher to streamline your prep.
The Unskippable Rules of Cooling and Storing
Alright, listen up, because this is probably the most critical part of the entire rice meal-prep game. Cooking the rice is the easy part. Where people mess up is the cooling and storing—and a mistake here isn't just about mushy rice, it's a real food safety issue.
You see, warm, moist rice left sitting on the counter is a five-star resort for bacteria. We’re talking specifically about a nasty little bugger called Bacillus cereus, and it's no joke.
The good news? Avoiding it is simple. You just have to follow one golden rule: cool your rice down, and do it fast. I mean, from steaming hot to safely chilled in under an hour. No exceptions.
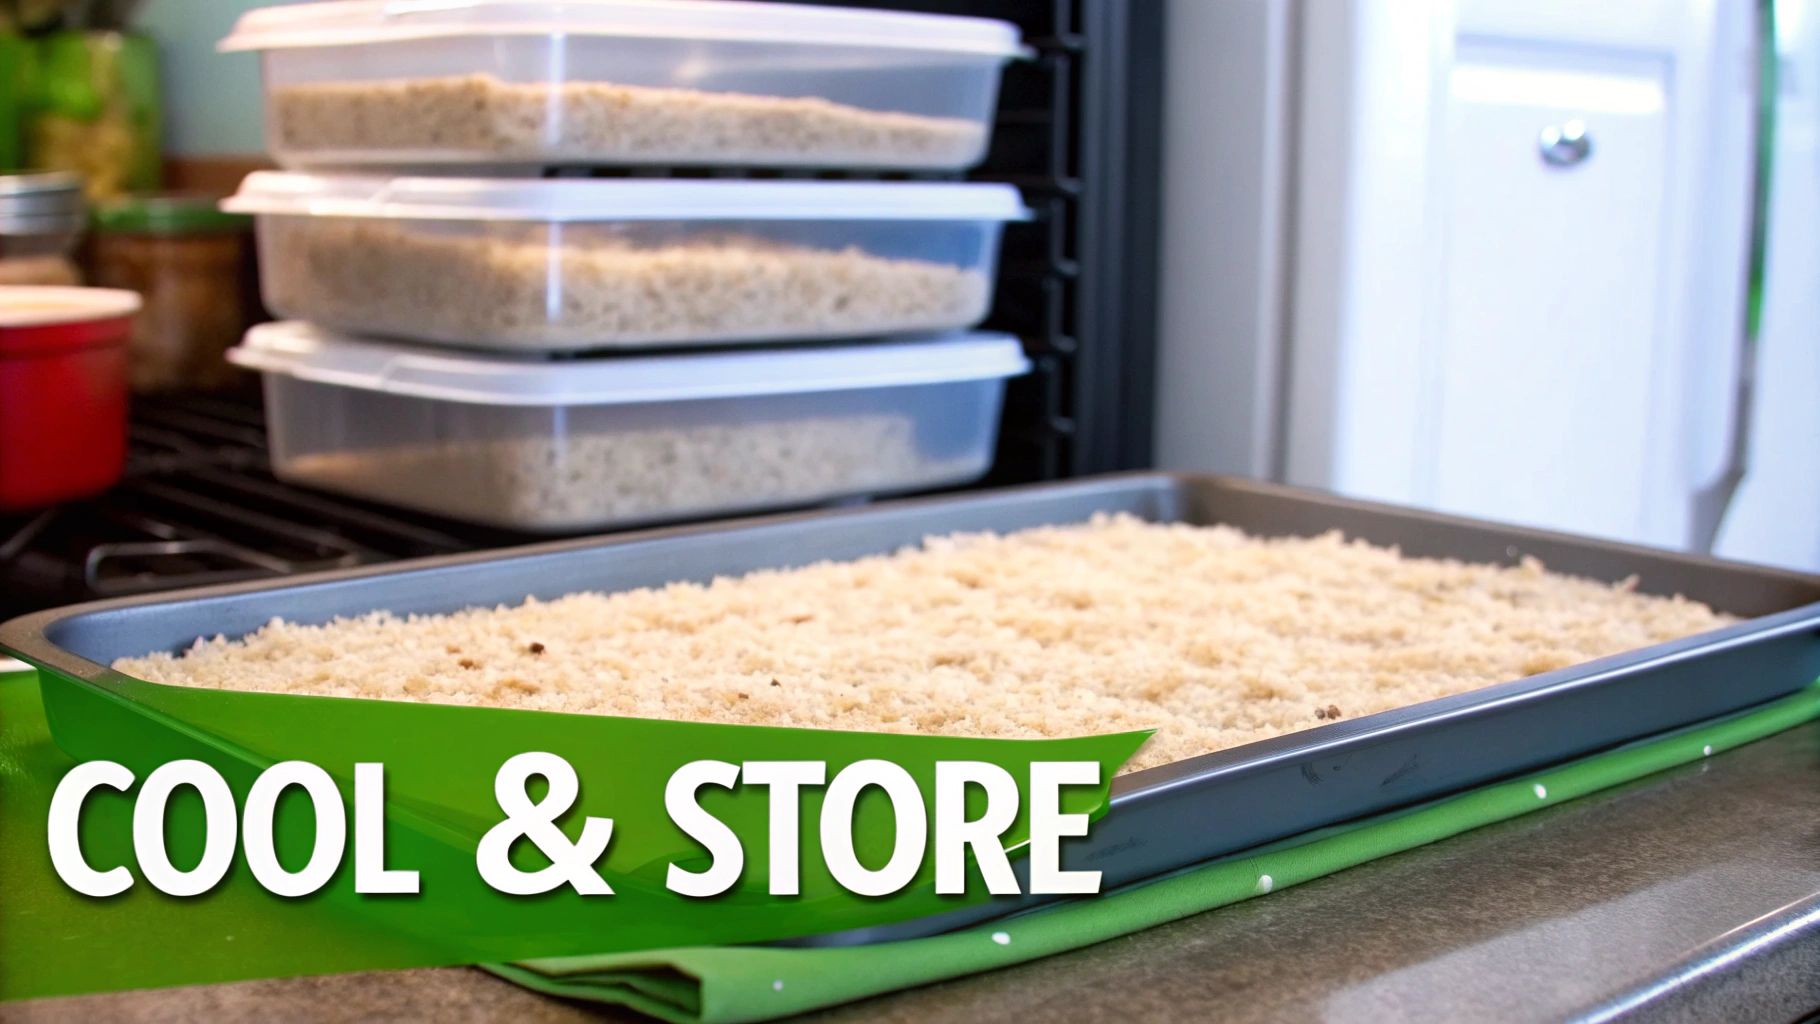
The Baking Sheet Trick
Do not—I repeat, do not—just leave the hot pot of rice on the stovetop to cool down. That’s asking for trouble.
My go-to method, the one I preach to everyone, is the baking sheet trick. As soon as the rice is done, spread it out in a thin, even layer on a large baking sheet. This massively increases the surface area, letting all that steam and heat escape in minutes. It's the fastest way I've found to get it cool enough to handle and stash in the fridge.
This isn't just a friendly tip; it's a food safety non-negotiable. Quick-cooling your rice is what stops harmful bacteria in its tracks, making sure your meal prep is a helper, not a hazard.
And we’re cooking more rice than ever. Global consumption is expected to climb over 541 million tons by the 2025/26 crop year. With that much rice on the table, knowing how to handle it safely is a must-have kitchen skill. You can dig into these global rice trends over at the USDA.
Fridge vs. Freezer Storage
Once your rice is cool to the touch, you need to pack it up. The right container is key here—you need something airtight. It’ll stop the rice from drying into little pebbles and prevent it from soaking up that weird leftover-cabbage smell from the back of your fridge.
- In the Fridge: Your cooked rice is good for up to 4 days. This is my plan for lunches Monday through Thursday. My advice? Portion it into individual containers before you put it away. When you’re starving on a Tuesday, you’ll thank your past self for the grab-and-go convenience.
- In the Freezer: Looking to stock up for the long haul? The freezer is your best friend. Rice will last beautifully for up to 2 months. Use good freezer-safe bags, and—this is important—squeeze every last bit of air out before you seal them. This is your number one defense against freezer burn. I like to flatten the bags before freezing; they stack like files and thaw out in no time.
Mastering storage is a core pillar of successful meal prepping. For a much deeper dive, take a look at our complete guide on how to store prepped meals and keep everything tasting fresh.
Whichever path you choose, the mission is the same: lock in that fluffy, fresh texture. Spending a few extra minutes on proper cooling and storing is what separates a week of delicious, easy meals from a risky science experiment.
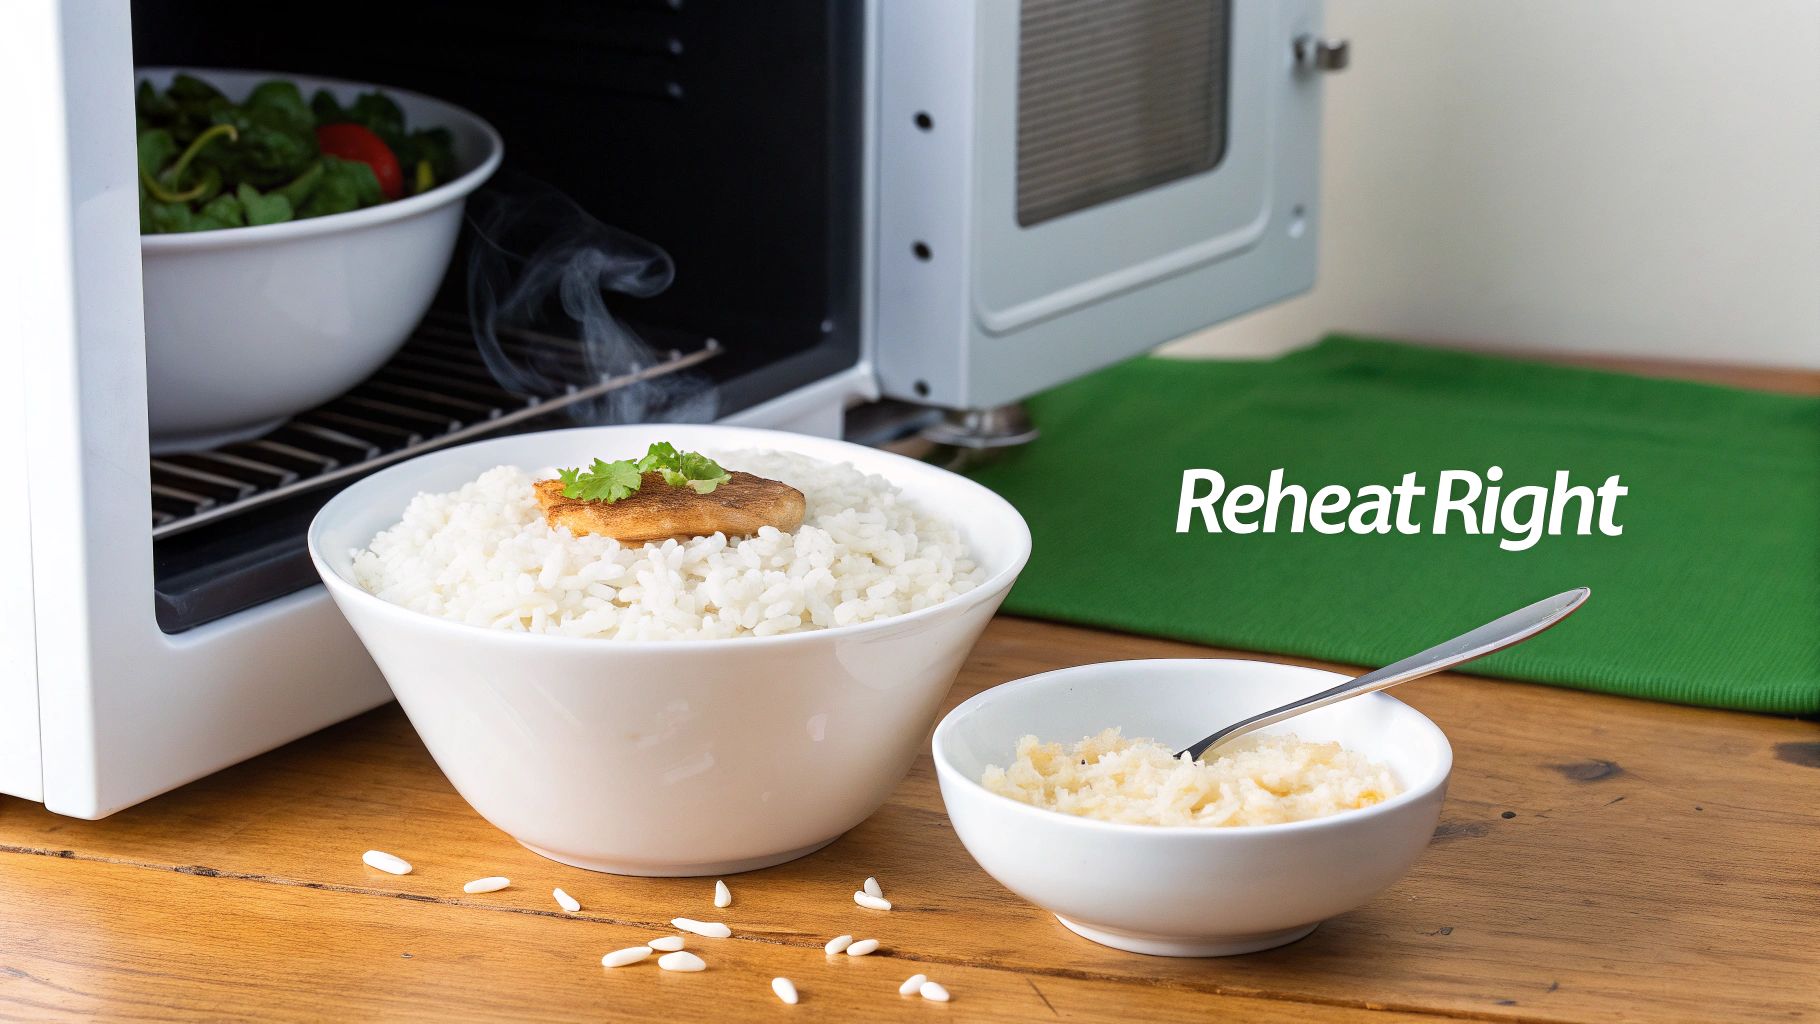
How to Reheat Rice So It Tastes Amazing
Let's bust a myth right now: leftover rice does not have to be a sad, clumpy, dry affair. Seriously. Forget everything you thought you knew about disappointing next-day grains. When you know how to bring your prepped rice back from the dead, it can taste just as fluffy and perfect as the moment it came out of the pot. The secret? It's all about one key element—steam.
I’ve got two foolproof methods in my back pocket that have never, ever let me down. They’re both ridiculously simple, quick, and will make you a true believer in the power of properly reheated rice.
The Microwave Steam Trick
This is my daily driver for a quick lunch or a fast side dish. It’s the fastest way I know to get perfectly fluffy, steaming rice in about a minute.
- First, scoop your portion of cold rice into a microwave-safe bowl.
- Next, drizzle just a tiny bit of water over the top—I find about 1 tablespoon per cup of rice is the magic number. You're not trying to drown it, just give it a little moisture to work with.
- Now for the secret weapon: cover the bowl with a damp paper towel. This traps the moisture as it heats up, creating a little steam cocoon that gently rehydrates every single grain.
- Pop it in the microwave on high for 60-90 seconds, depending on how much rice you've got. Give it a quick fluff with a fork, and you're good to go.
This simple trick is an absolute game-changer. No more dry, crunchy bits—just perfectly textured rice that tastes like you just made it.
The Stovetop Sizzle
Got a few extra minutes to spare? The stovetop method is your best friend, especially if you're warming up a larger batch or using the rice as a base for something like fried rice.
Toss the cold rice into a non-stick skillet over medium heat. Add a splash of water or broth and a little oil or butter to keep things from sticking and add a touch of flavor. Break up any big clumps with your spoon, then pop a lid on the pan.
Let it steam for about 3-5 minutes, giving it a stir every now and then, until it's heated all the way through. The direct heat and the bit of fat give the grains a fantastic texture.
The real beauty of meal-prepped rice is its versatility. It's a blank canvas waiting for you to turn it into something amazing, saving you from the dreaded "what's for dinner?" dilemma on a busy weeknight.
Once you’ve nailed the reheating process, a world of quick and easy meals opens up. That container of plain rice is your ticket to a week of creative, delicious, and lightning-fast dinners. Think vibrant grain bowls piled high with roasted veggies and a zesty dressing, last-minute burrito fillings with black beans and corn, or a hearty addition to a simmering soup. Don't be shy—toss in some fresh herbs, a swirl of soy sauce, or a pinch of your favorite spice blend to make every meal something special.
Your Top Rice Meal Prep Questions, Answered
Jumping into meal prep always brings up a few nagging questions. When it comes to something as basic as rice, it's funny how many little "what ifs" can pop into your head. Let's tackle the big ones so you can batch-cook with total confidence.
Is Reheating Rice Actually Dangerous?
Let's get this one out of the way immediately. Yes, you can absolutely, 100% safely reheat rice. The horror stories you've seen online are almost always about one critical mistake: leaving cooked rice to hang out on the counter for hours. That's a definite no-go.
The secret is to cool it down fast. Once your rice is cooked, your mission is to get it chilled and into the fridge within an hour. This rapid cooling stops nasty bacteria from throwing a party in your food. When it's time to eat, heat it until it’s piping hot all the way through—think 165°F (74°C). And remember the golden rule: only ever reheat it once.
My mantra for this is simple: Hot to cold, fast. Cold to hot, fast. Never let it sit in that lukewarm "danger zone" at room temperature.
Ugh, Why Is My Prepped Rice So Hard and Dry?
We’ve all been there. You open the container expecting fluffy, delicious rice and instead find sad, crunchy little pebbles. It’s a common problem, and it’s all thanks to a process called retrogradation. That’s just a fancy word for the rice starches crystallizing as they get cold.
But don’t worry, the fix is incredibly simple.
- When you cook: Toss a little fat into the water. A teaspoon of olive oil or a small pat of butter does wonders. It coats the grains just enough to stop them from turning into a solid, hard brick in the fridge.
- When you reheat: This is the game-changer. Just sprinkle a tablespoon or so of water over the rice, cover it with a damp paper towel, and pop it in the microwave. The steam works like magic, rehydrating the starches and bringing your rice right back to its fluffy, just-cooked state.
A little bit of moisture is all it takes to make day-four rice taste just as good as it did on day one.
How Much Uncooked Rice Do I Even Need?
Trying to guess the right amount of rice to cook can feel like a weird word problem from high school math. But let's break it down. A good rule of thumb is to plan on 1/2 to 1 cup of cooked rice per person, per meal.
One cup of dry, uncooked rice generally triples in volume, giving you about three cups when cooked. So, if you're prepping solo and want rice for five work lunches, starting with 1.5 cups of uncooked rice will get you there perfectly.
Once you have that baseline, scaling up is a breeze. A family of four needing rice for three dinners? You're probably looking at starting with around 6 cups of uncooked rice. It’s all about tailoring the batch size to your actual weekly eats.
---
Ready to stop guessing and start planning your meals effortlessly? Meal Flow AI creates personalized meal plans based on your tastes and then automatically builds your Instacart shopping list. Say goodbye to dinner stress and hello to delicious, easy meals. Get your custom plan today at Meal Flow AI